Cài đặt Agent
Cài đặt Agent
-
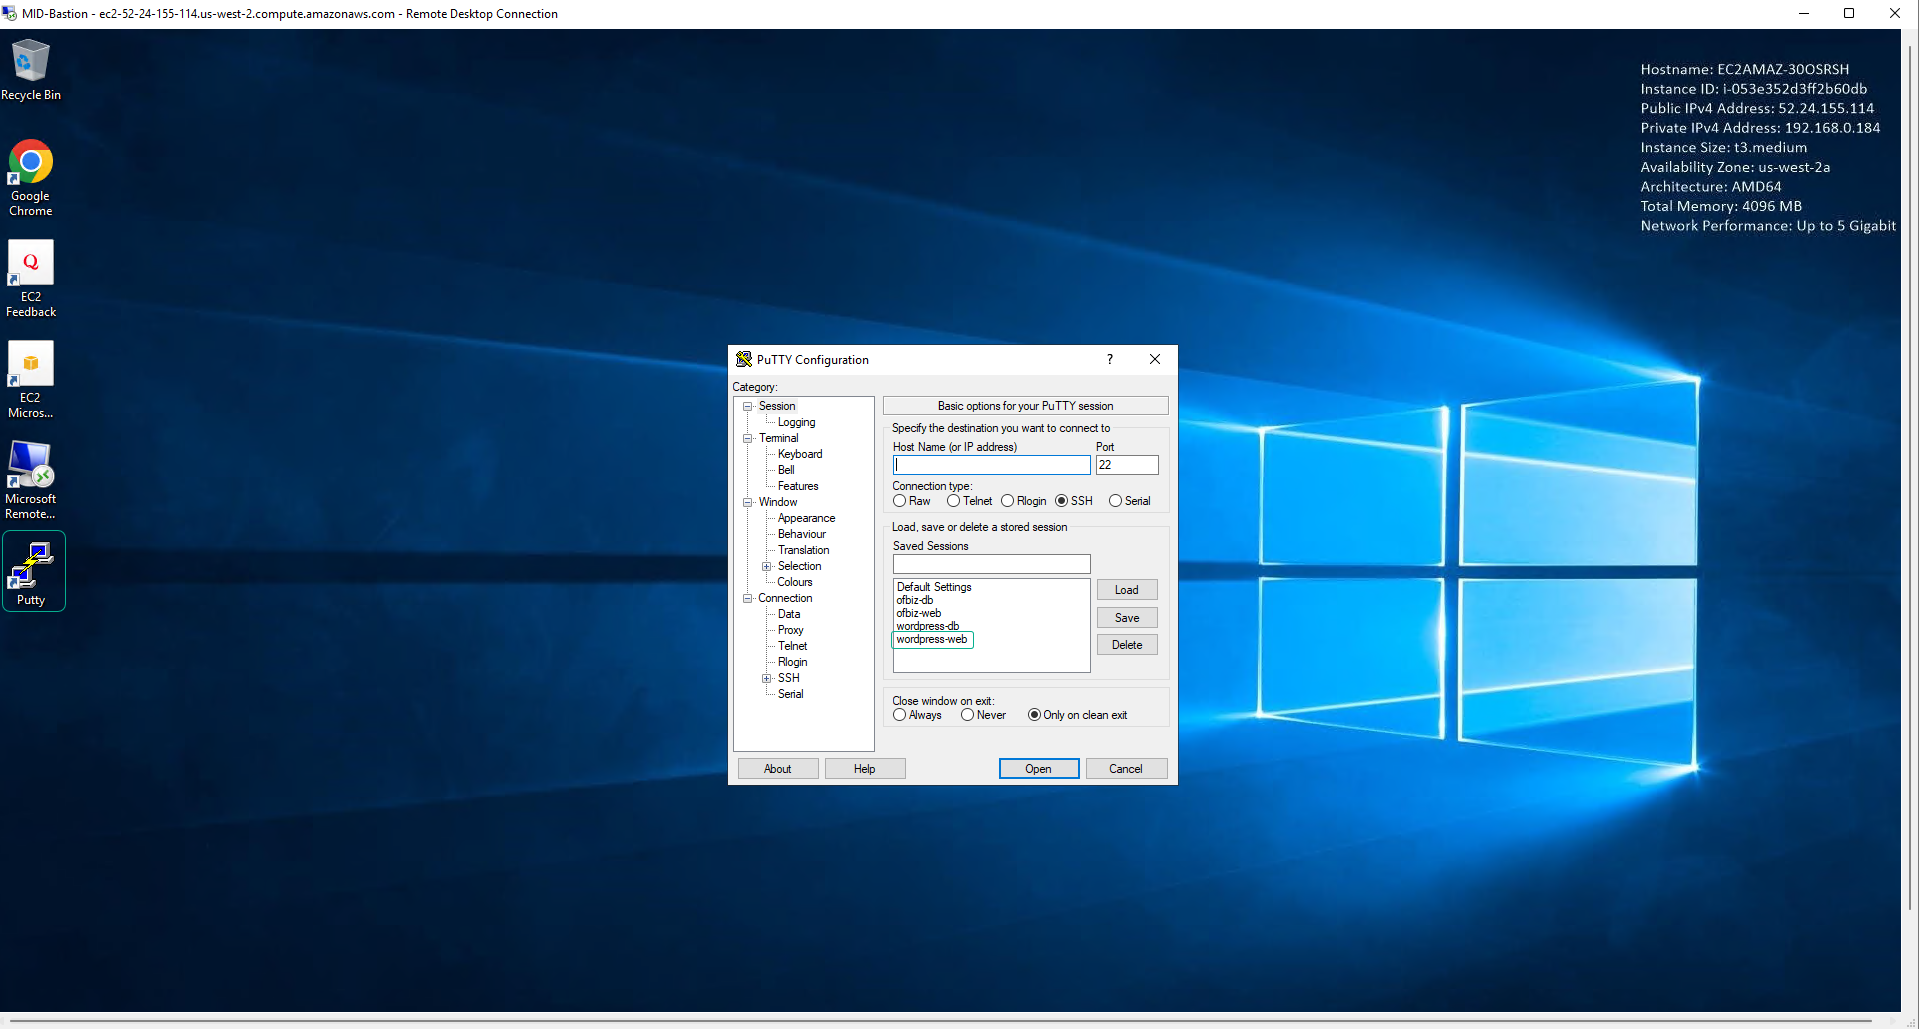
Trong giao diện Bastion Host
- Chọn Putty
- Chọn wordpress-web
- Chọn Open
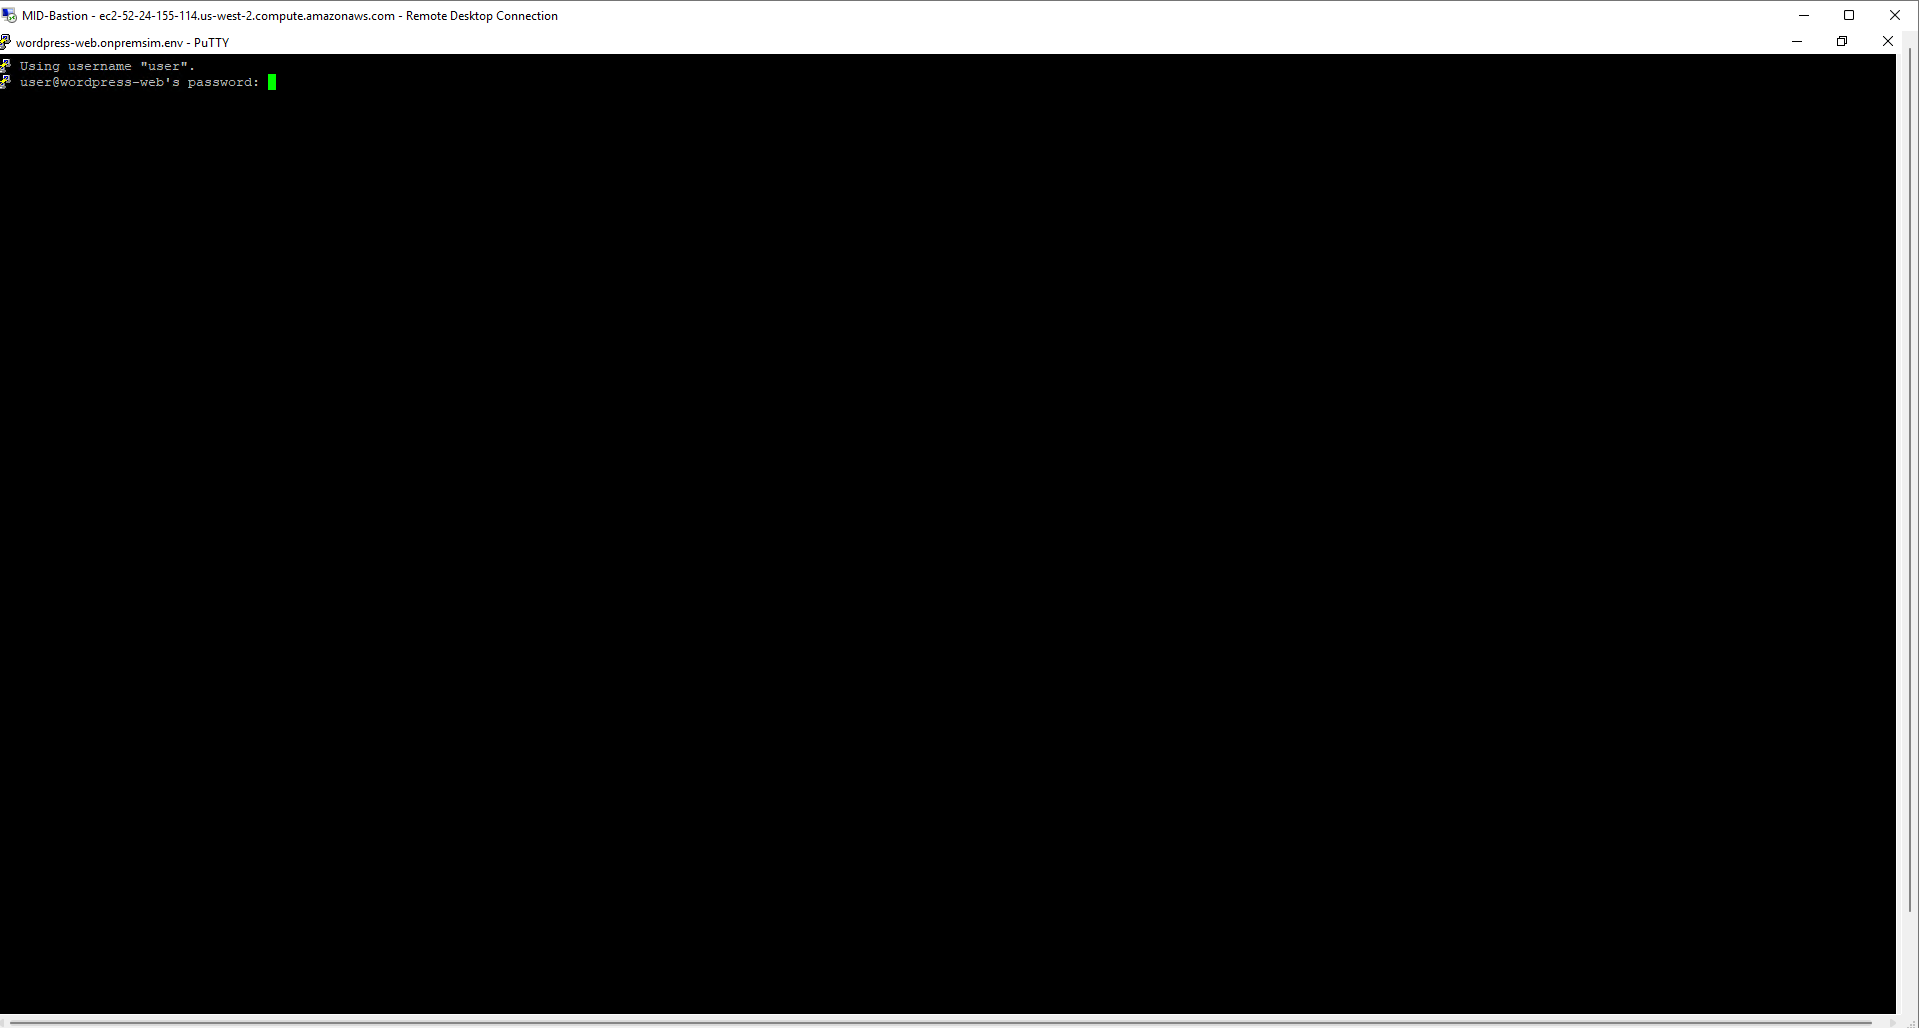
- Chúng ta sẽ thực hiện đăng nhập với password như phần kết nối
Bastion Host
user = Administrator
password = Adm1nP@s

Linux Hosts
password = SshPass1
- Đăng nhập thành công.
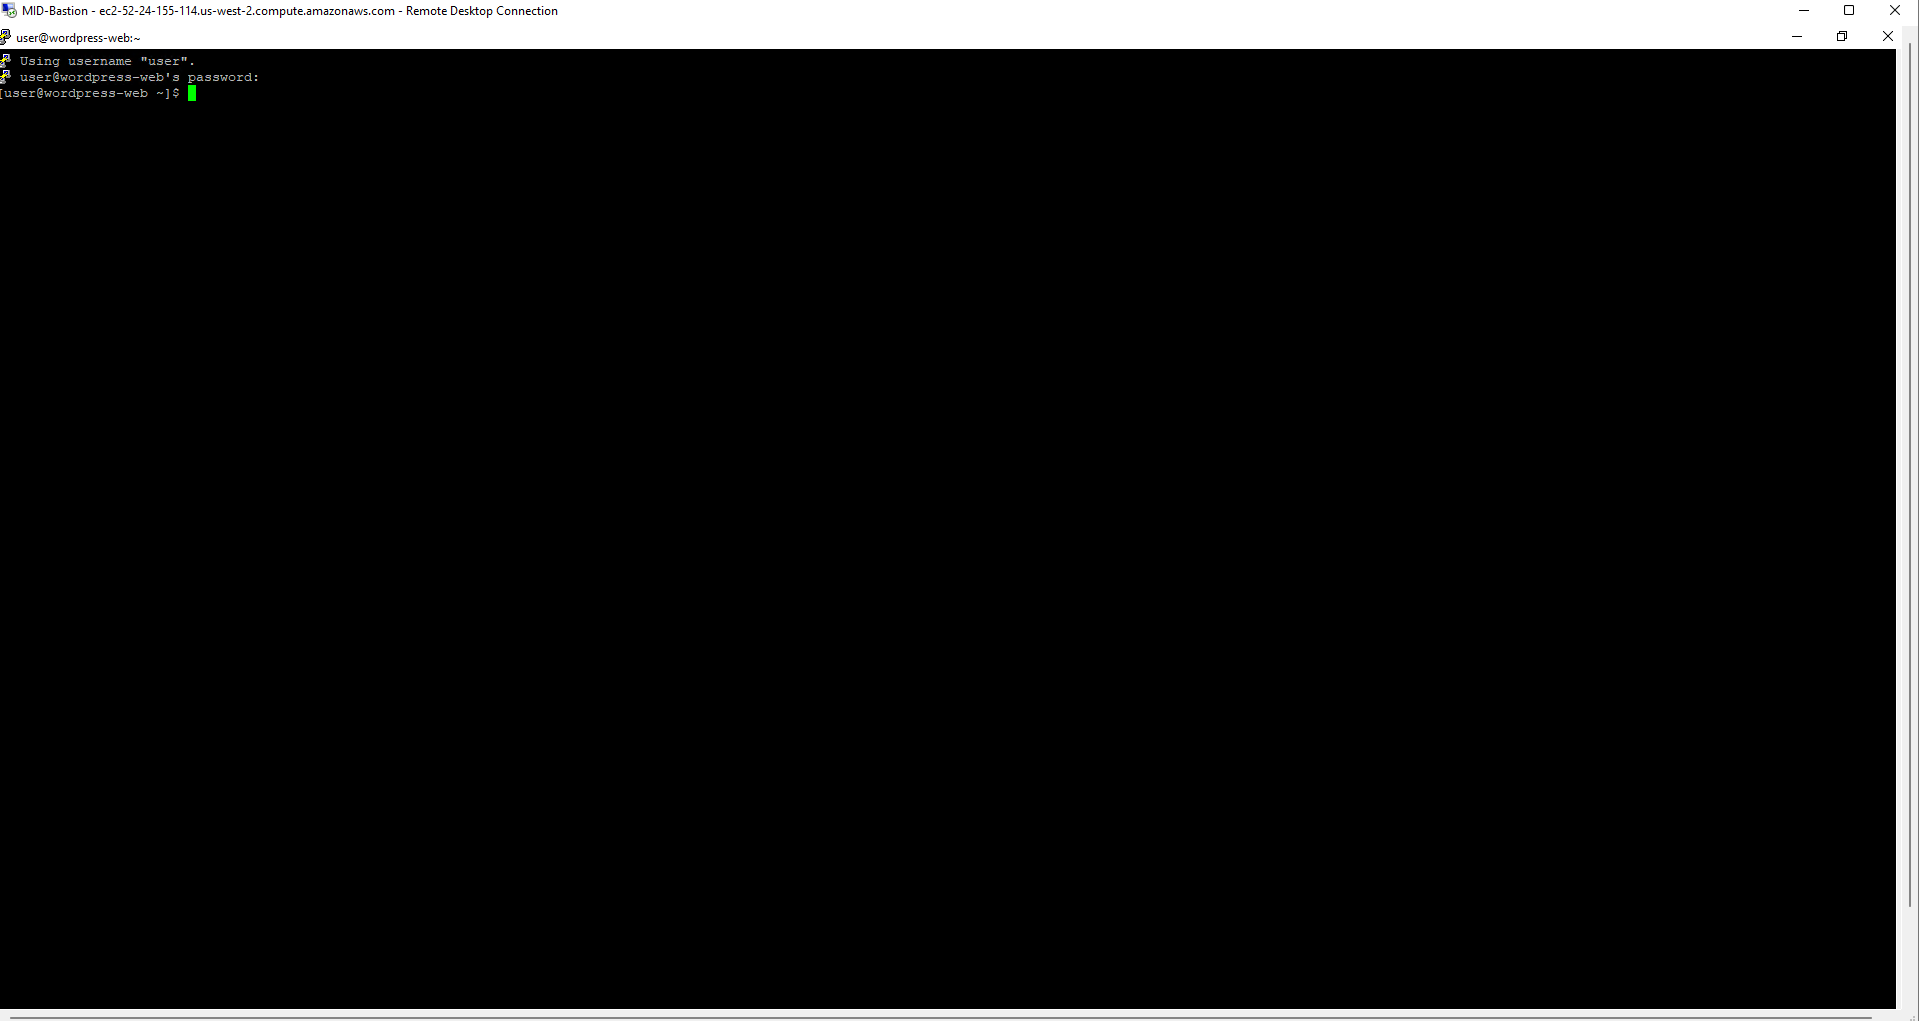
- Sau khi đăng nhập thành công, chúng ta sẽ thực hiện cài đặt Agent
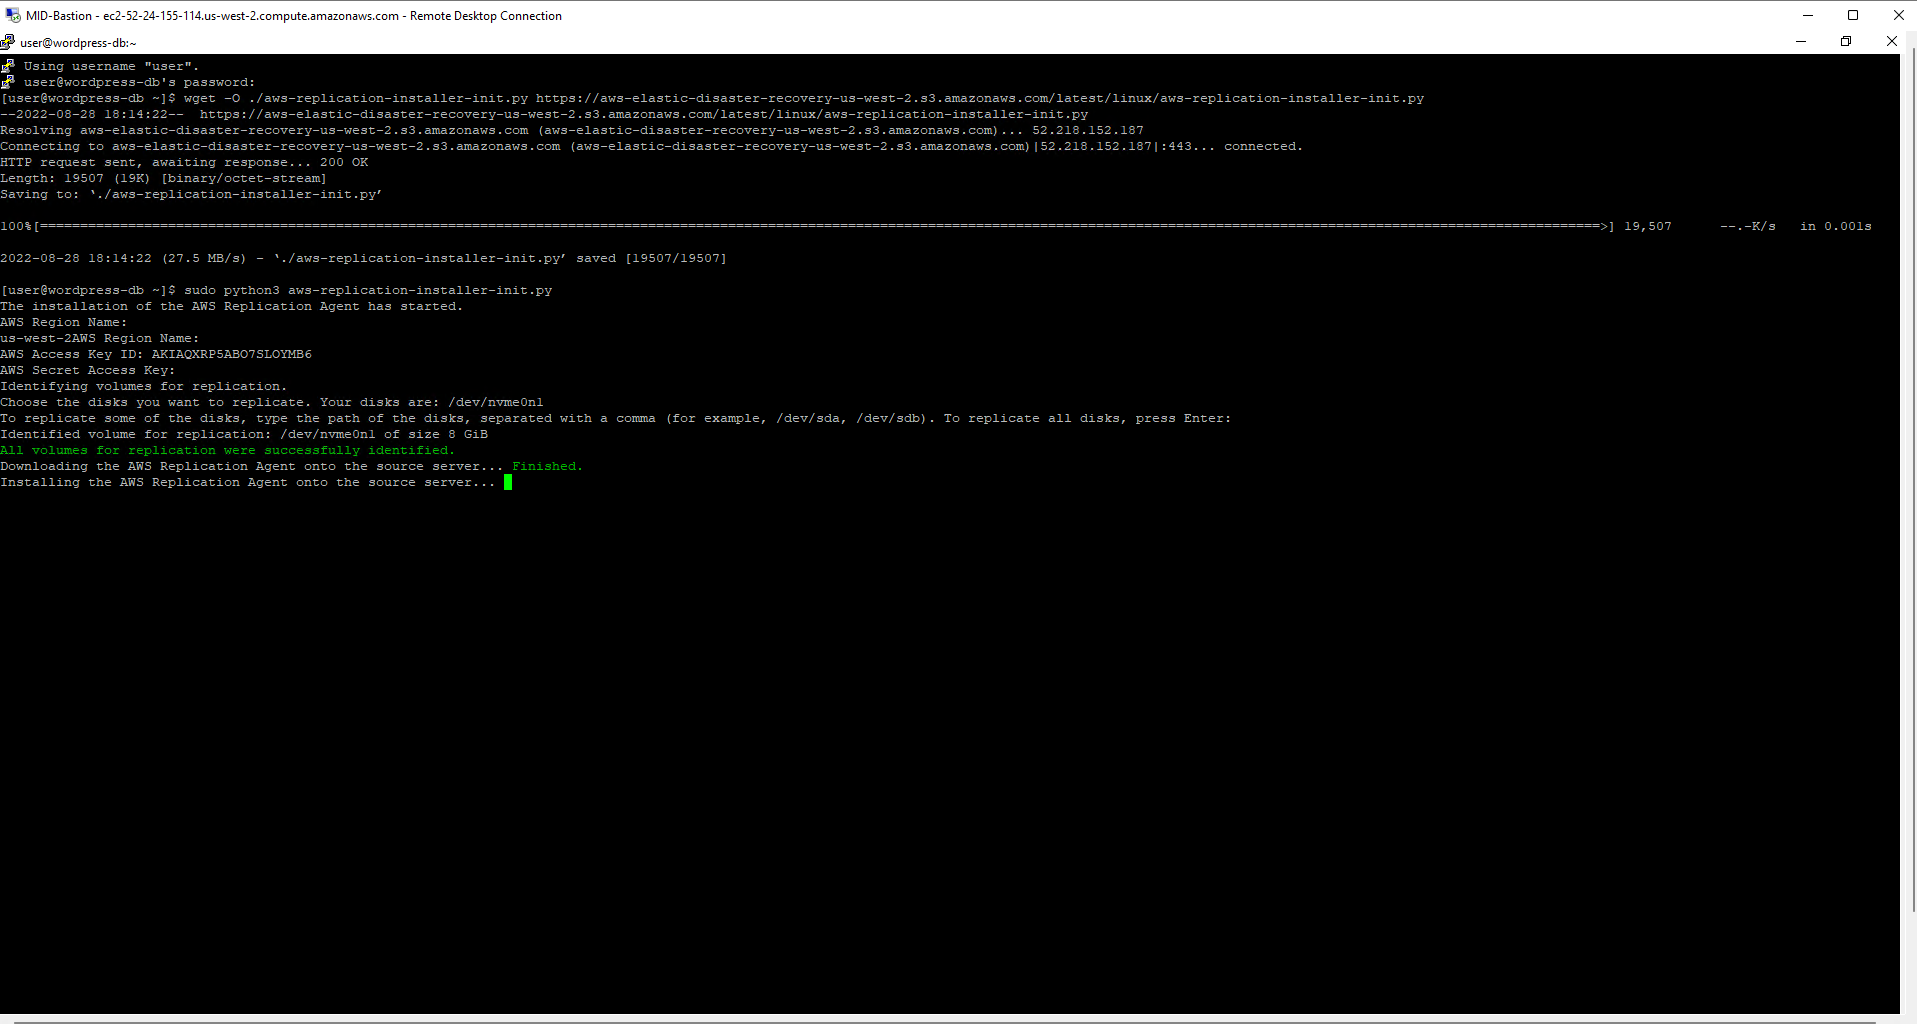
wget -O ./aws-replication-installer-init.py https://aws-elastic-disaster-recovery-us-west-2.s3.amazonaws.com/latest/linux/aws-replication-installer-init.py
- Sau đó, chúng ta sẽ thực hiện lệnh
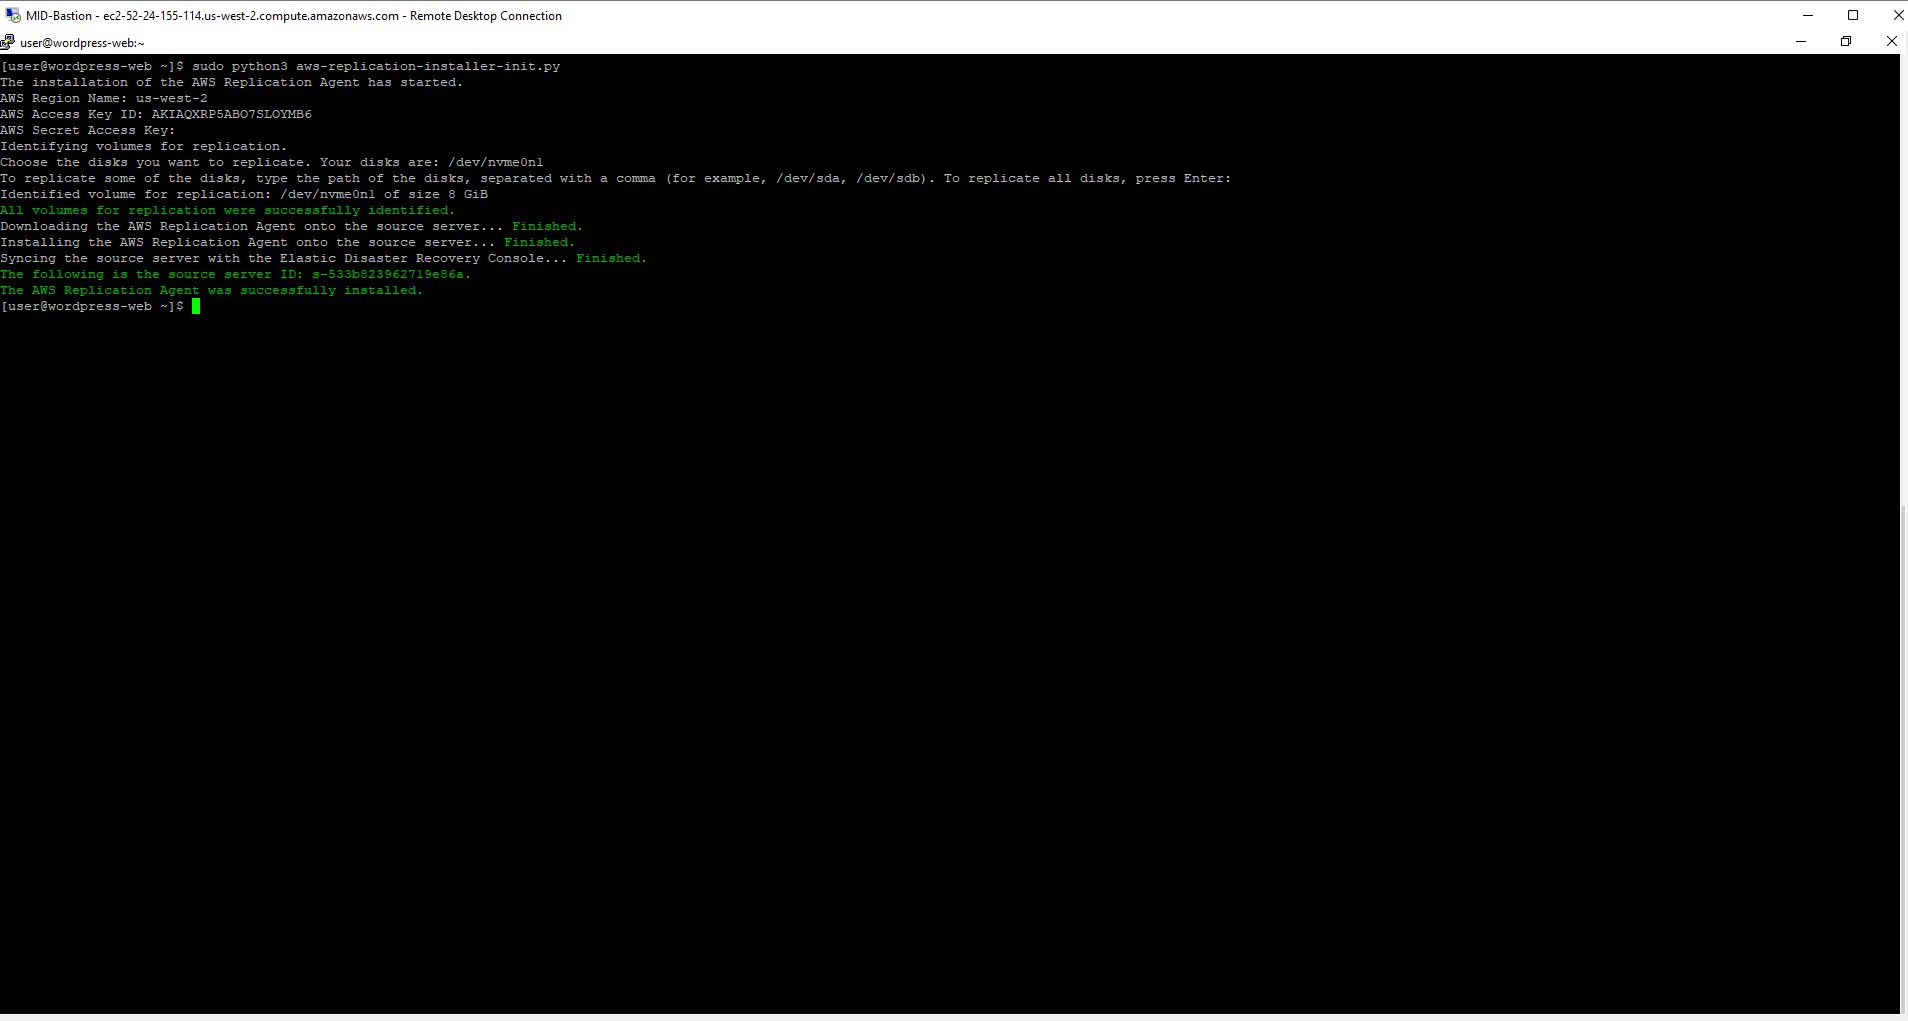
sudo python3 aws-replication-installer-init.py
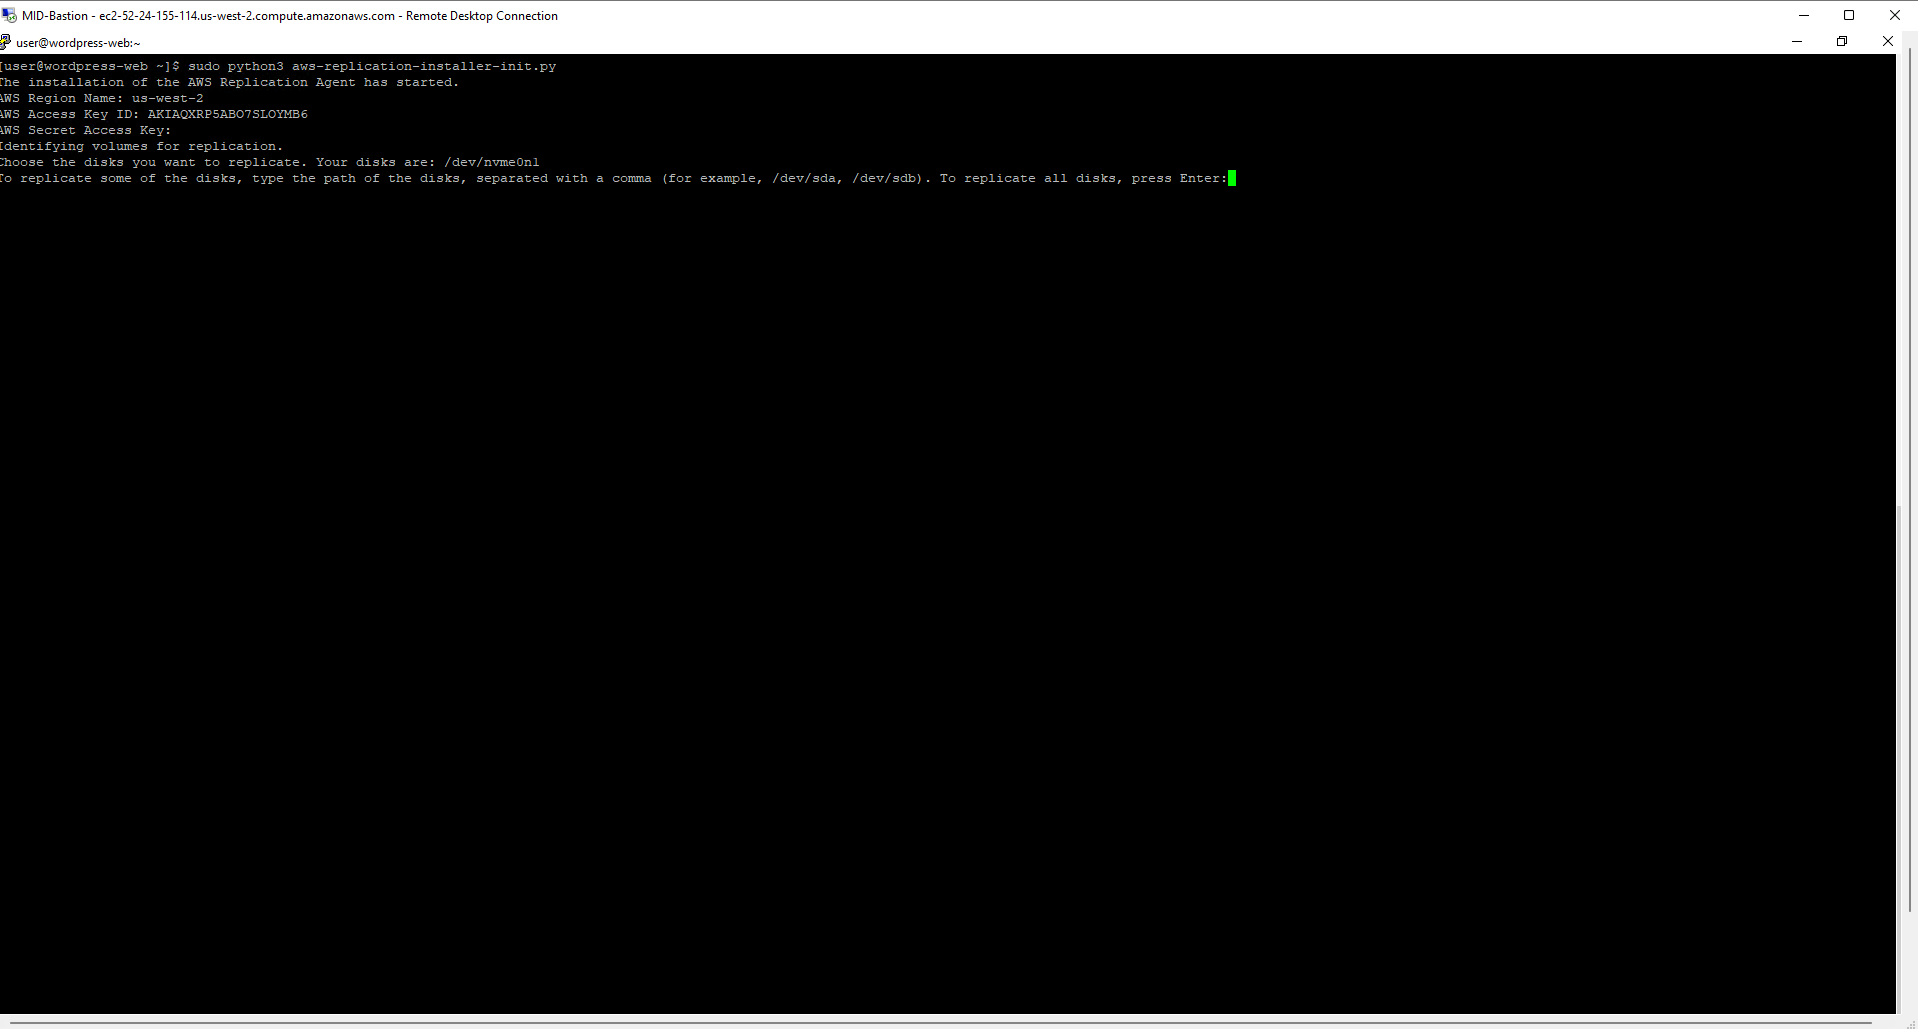
-
Thực hiện cấu hình
- AWS Region Name
- AWS Access Key ID
- AWS Secret Access Key
- Đối với Choose the disks you want to replicate, chọn Enter
- Chúng ta sẽ thực hiện các bước tương tự đối với phần database server.
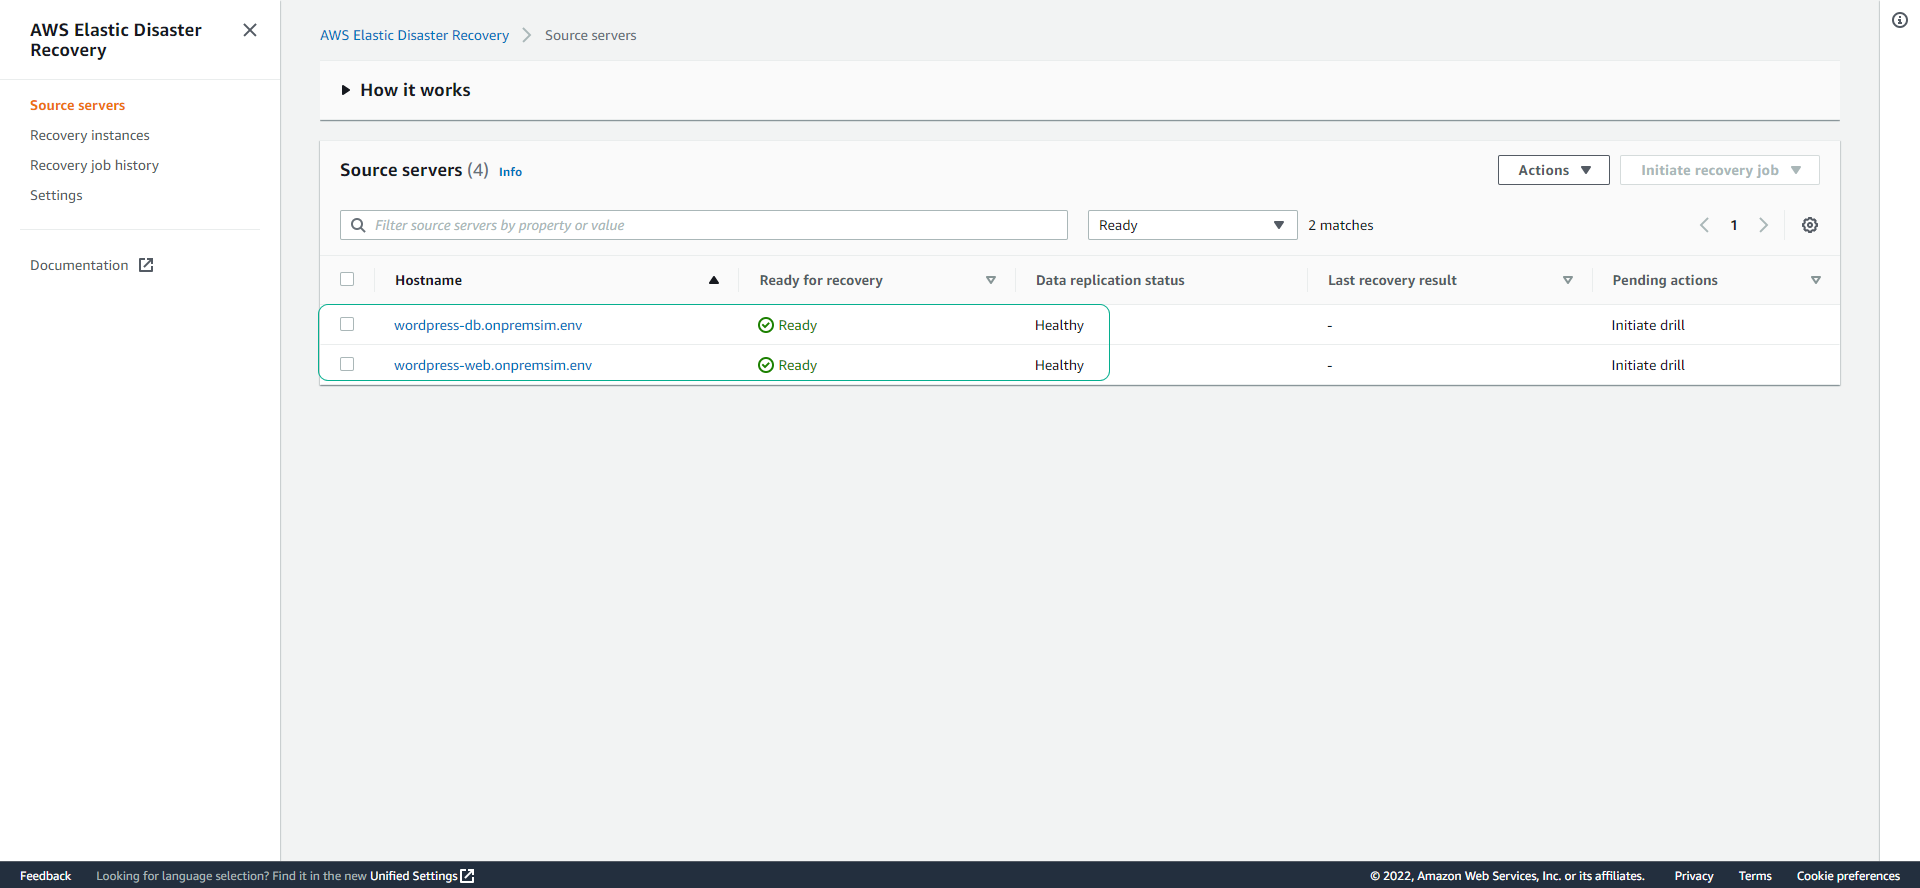
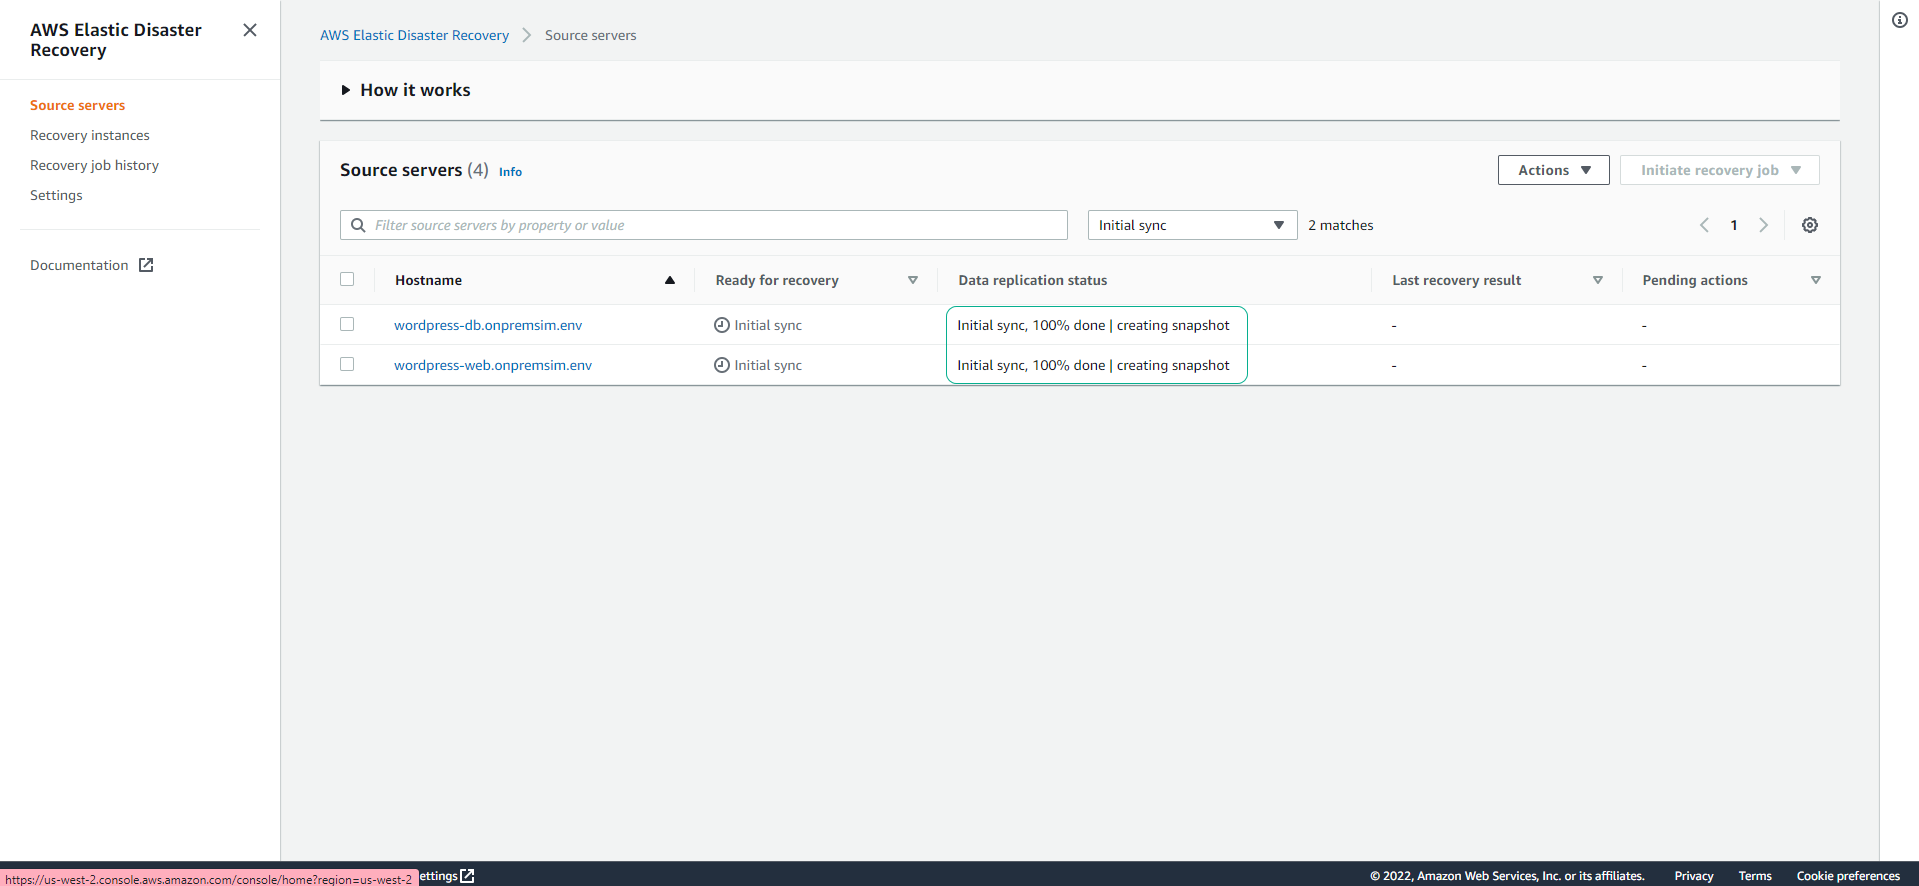
- Trở lại trang DRS source server xem quá trình initial sync

-
Cả 2 DRS source server
- Create security groups
- Launch replication server
- Boot replication server
- Authenticate with service
- Download replication software
- Create staging disks
- Attach staging disks
- Pair replication server with Agent
- Connect agent with replication server
- Start data transfer
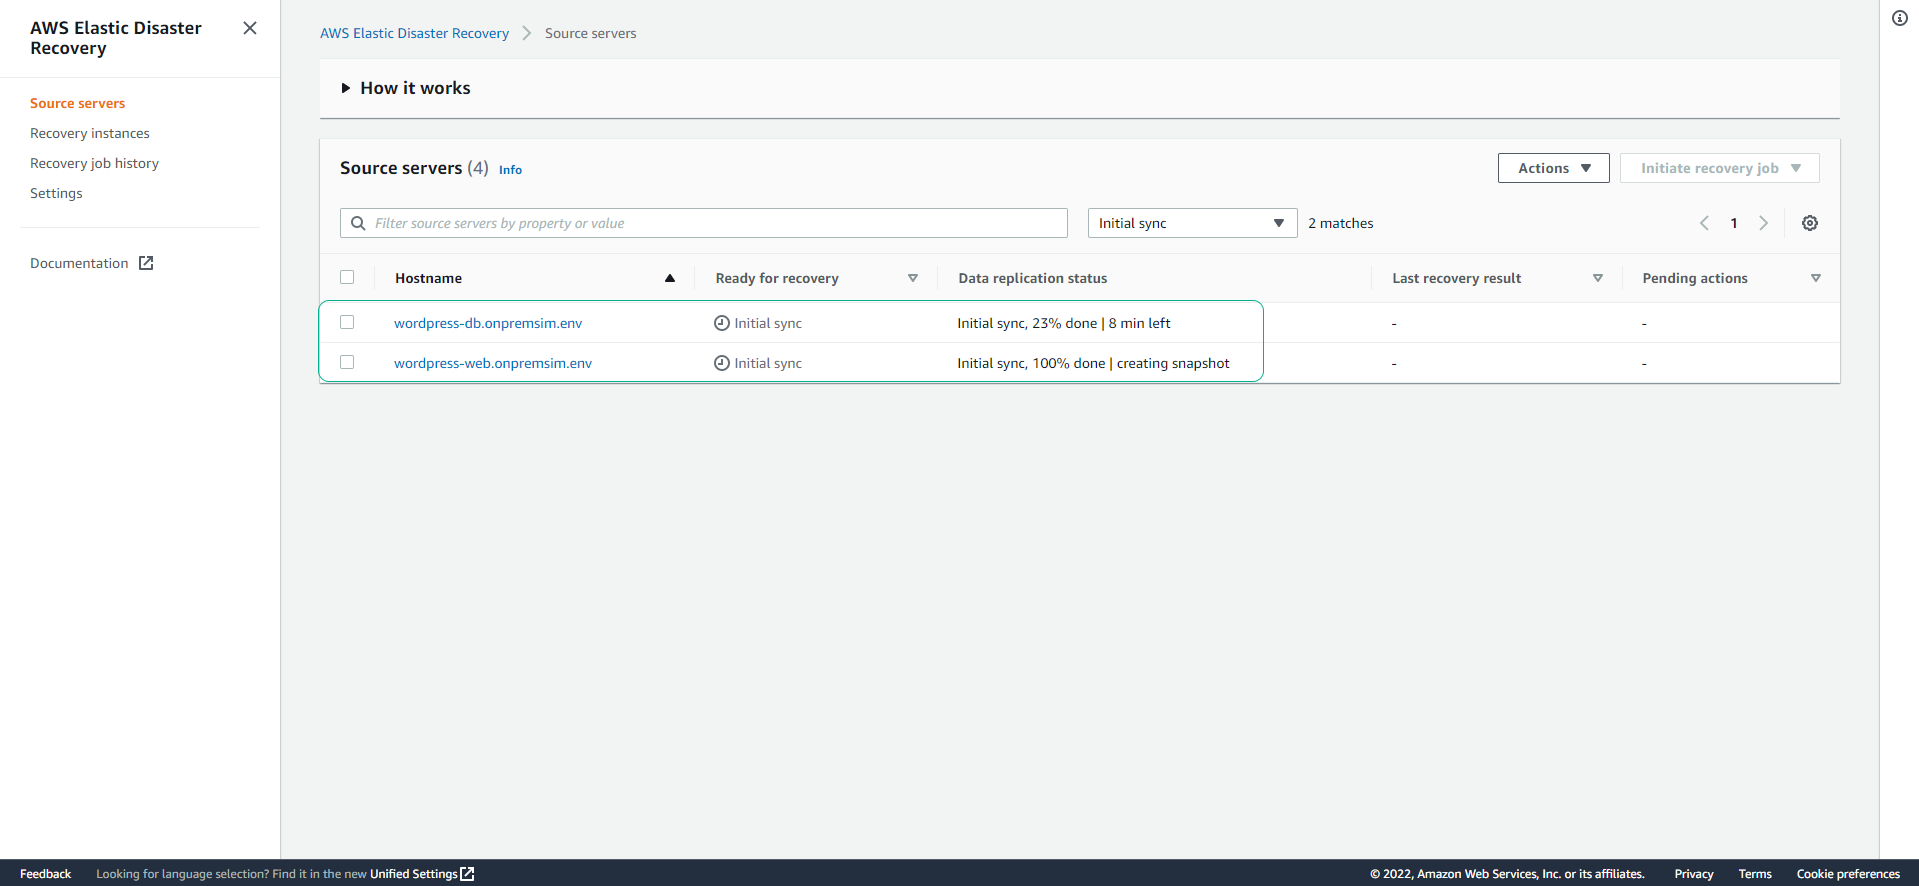
- Chúng ta sẽ chọn 1 DRS source server để xem chi tiết.
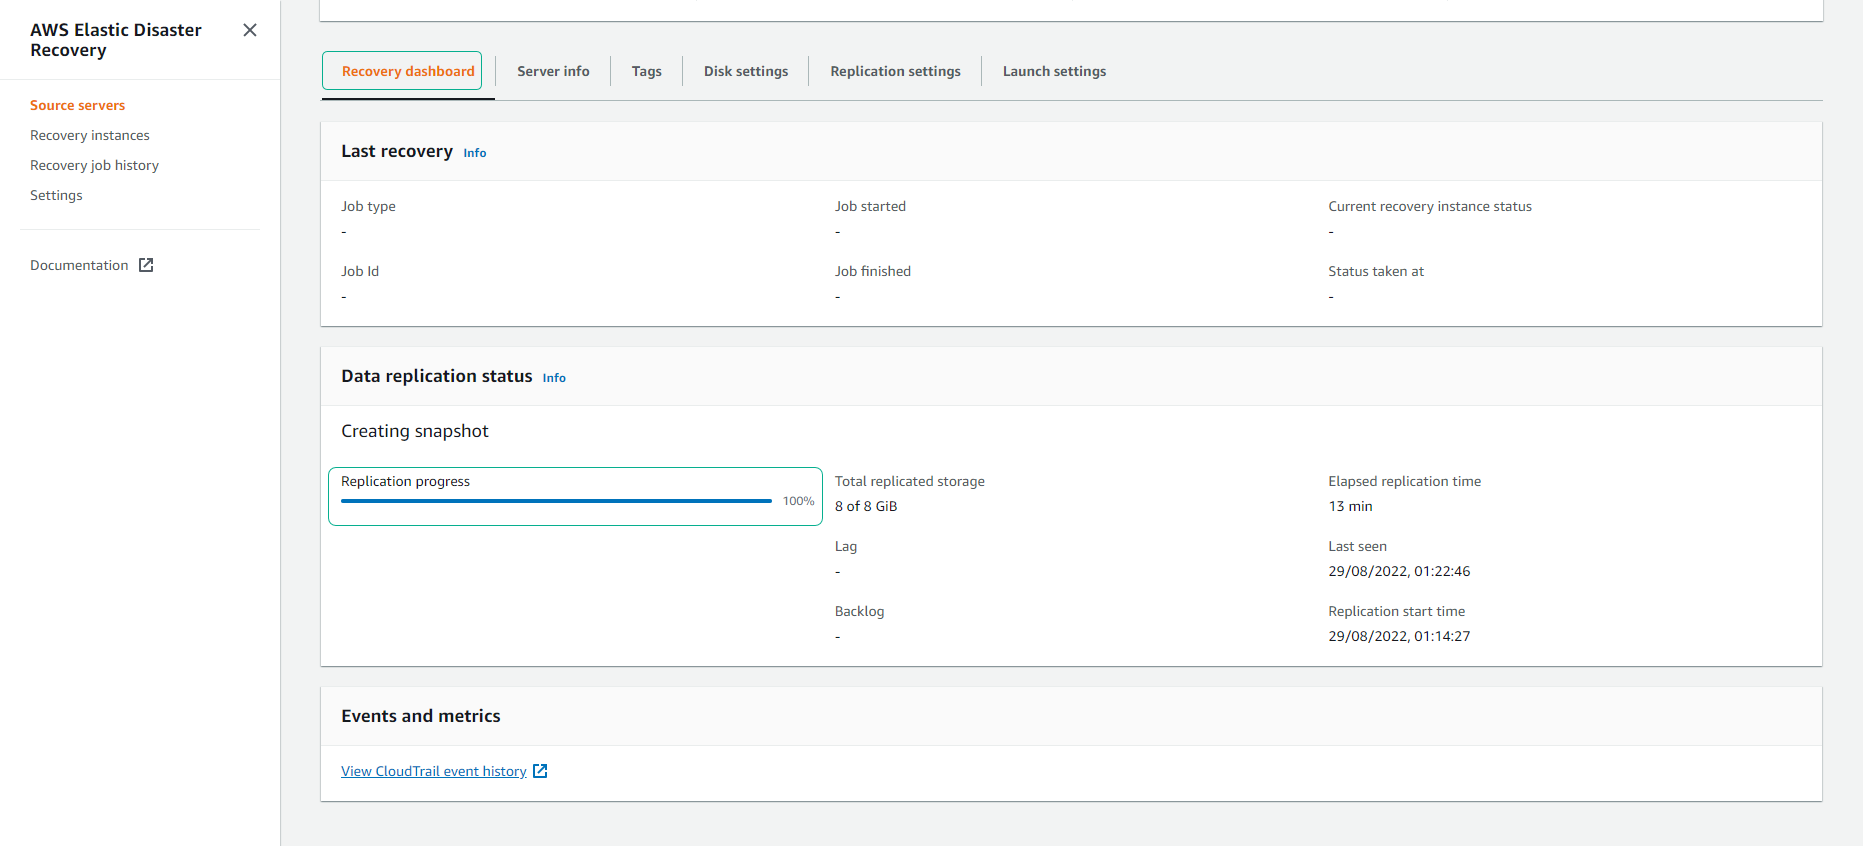
- Bạn sẽ phải đợi khoảng 10 phút, khi hoàn thành 100%
- Sau đó khoảng 1 phút, bạn sẽ quan sát thấy trạng thái Reaady for recovery là Ready và Data replicatio status là Healthy