Installing the Agent
Install Agent
-
In the Bastion Host interface
- Select Putty
- Select wordpress-web
- Select Open
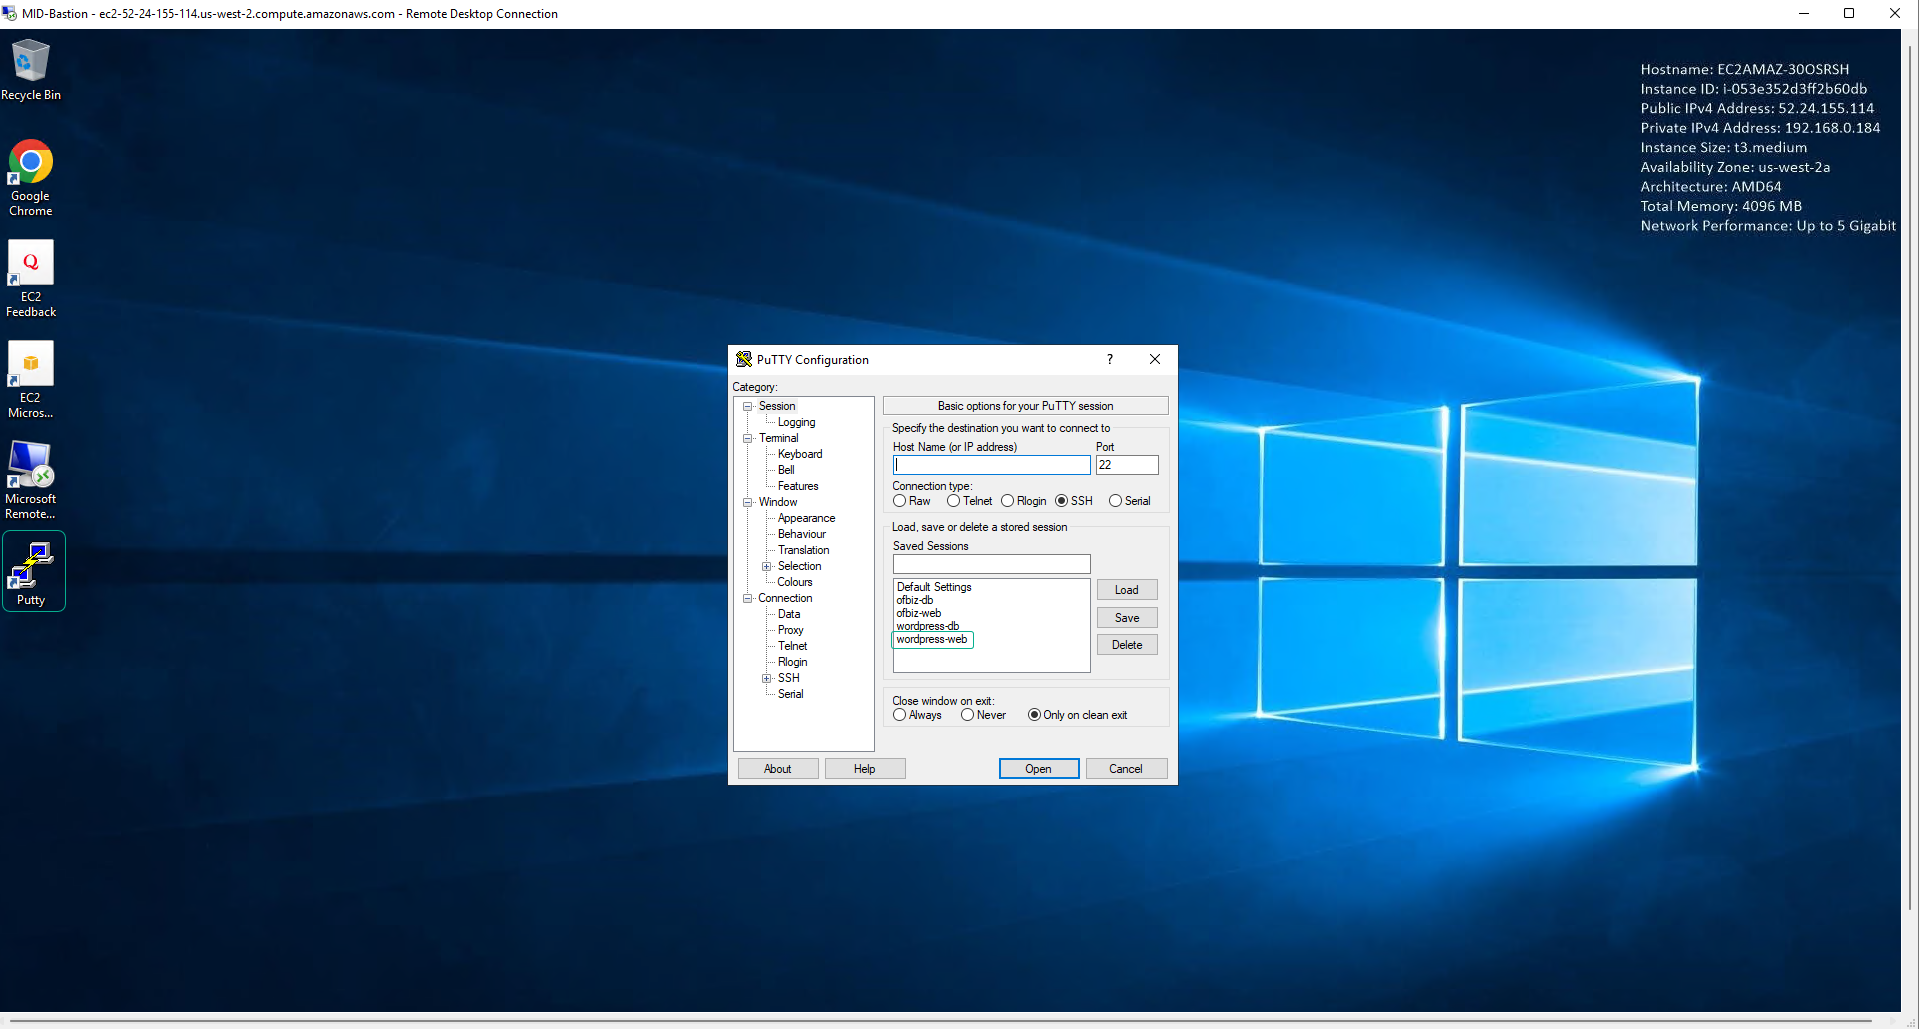
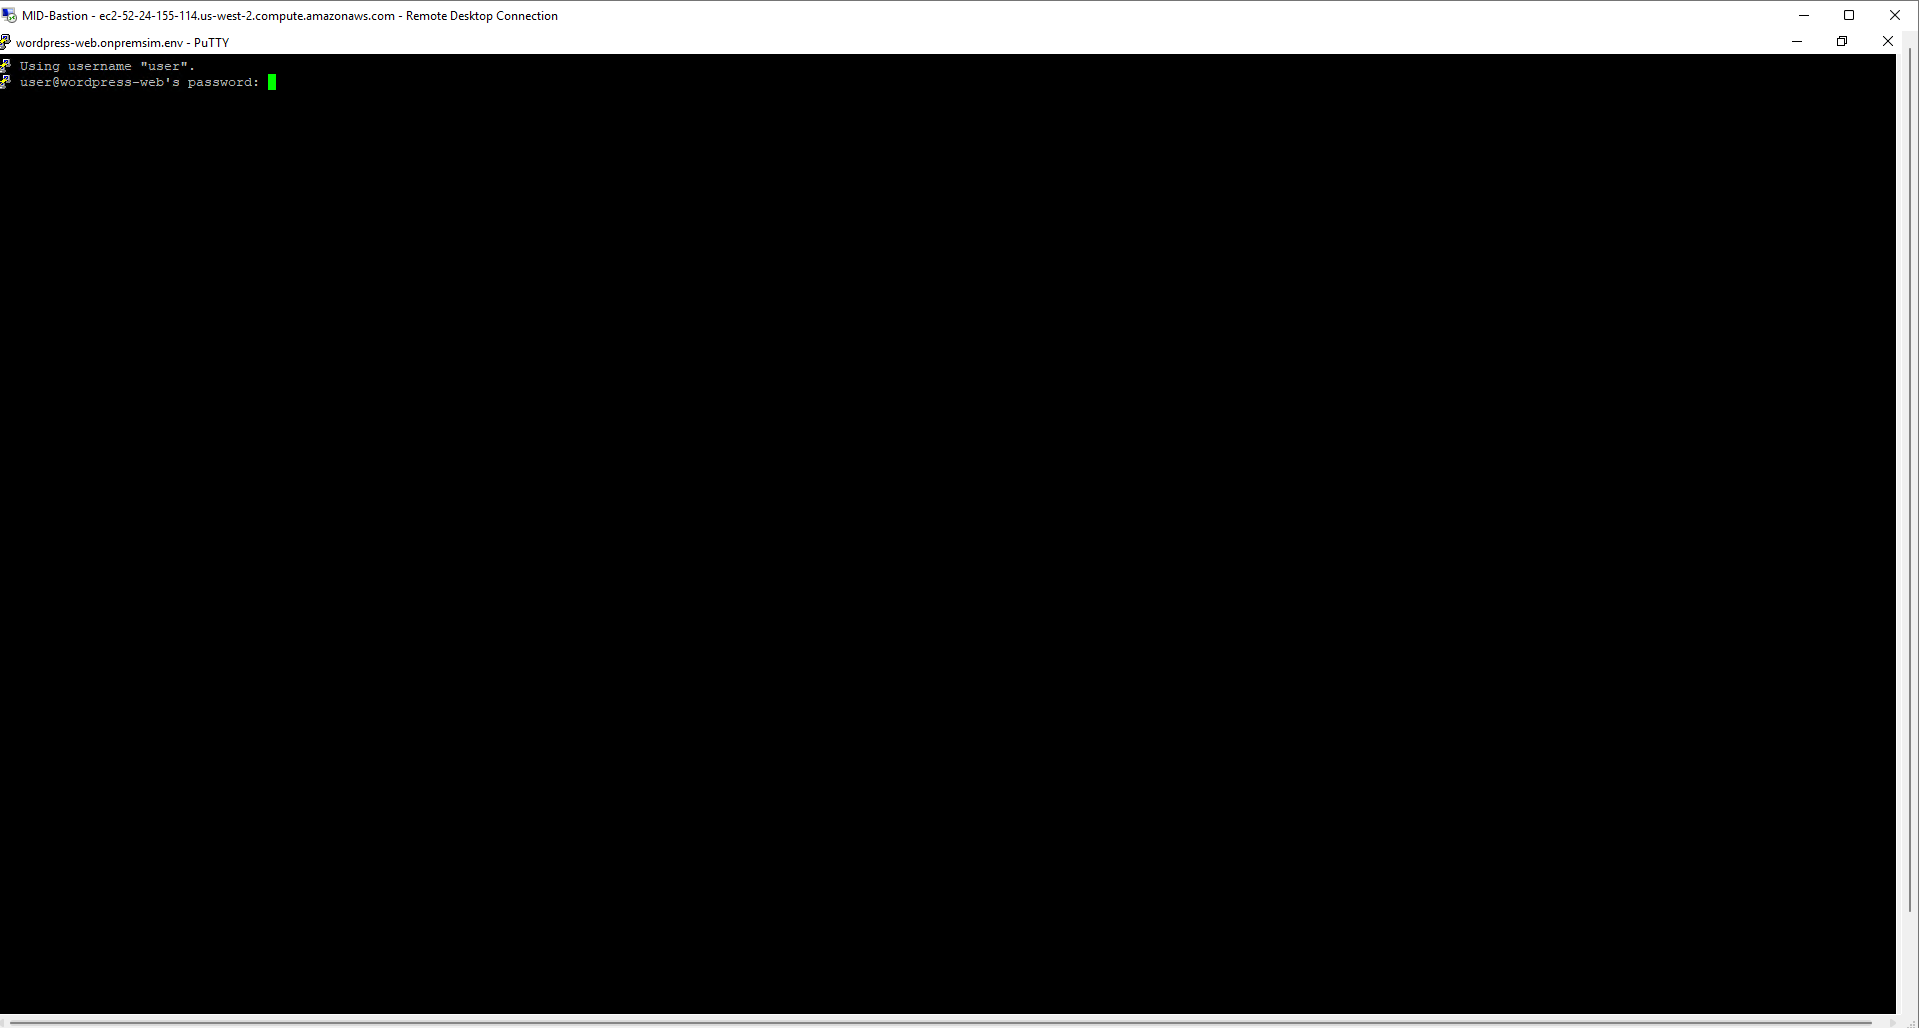
- We will perform login with password as the connection part
Bastion Host
user = Administrator
password = Adm1nP@s

Linux Hosts
password=SshPass1
- Login successfully.
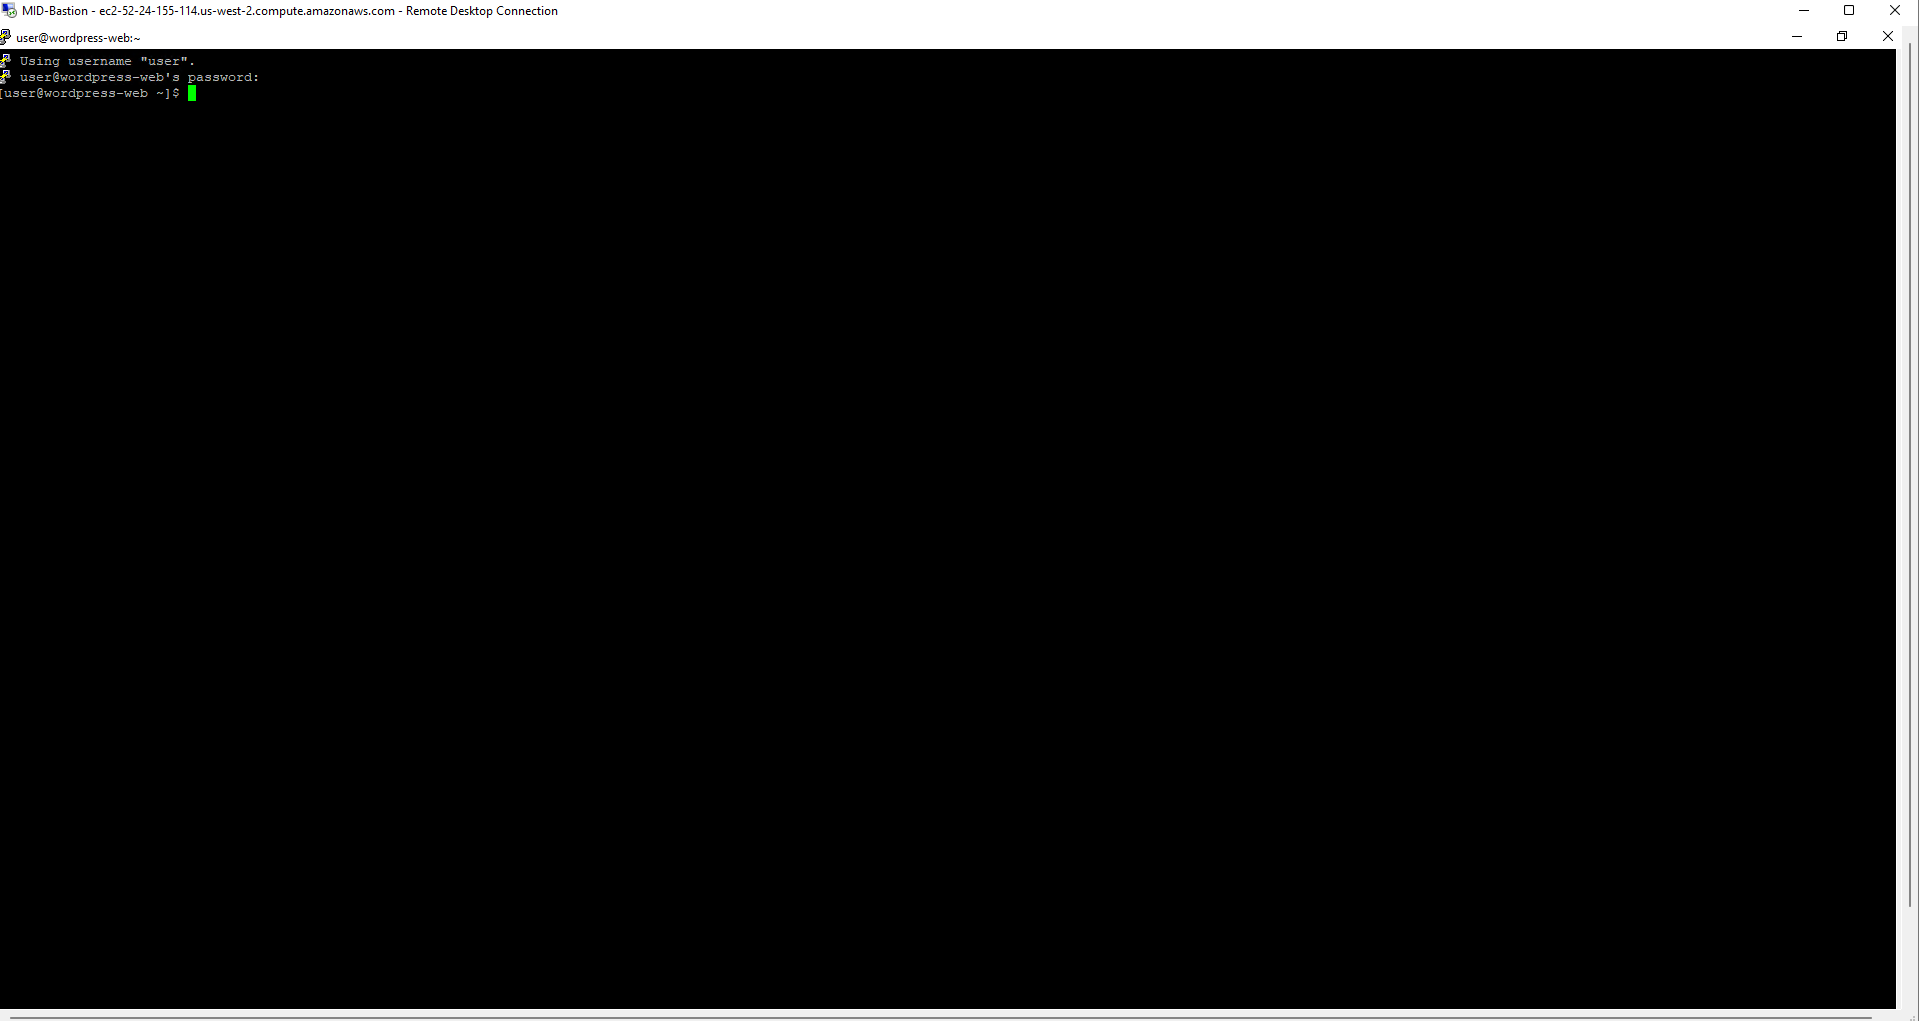
- After successful login, we will install Agent
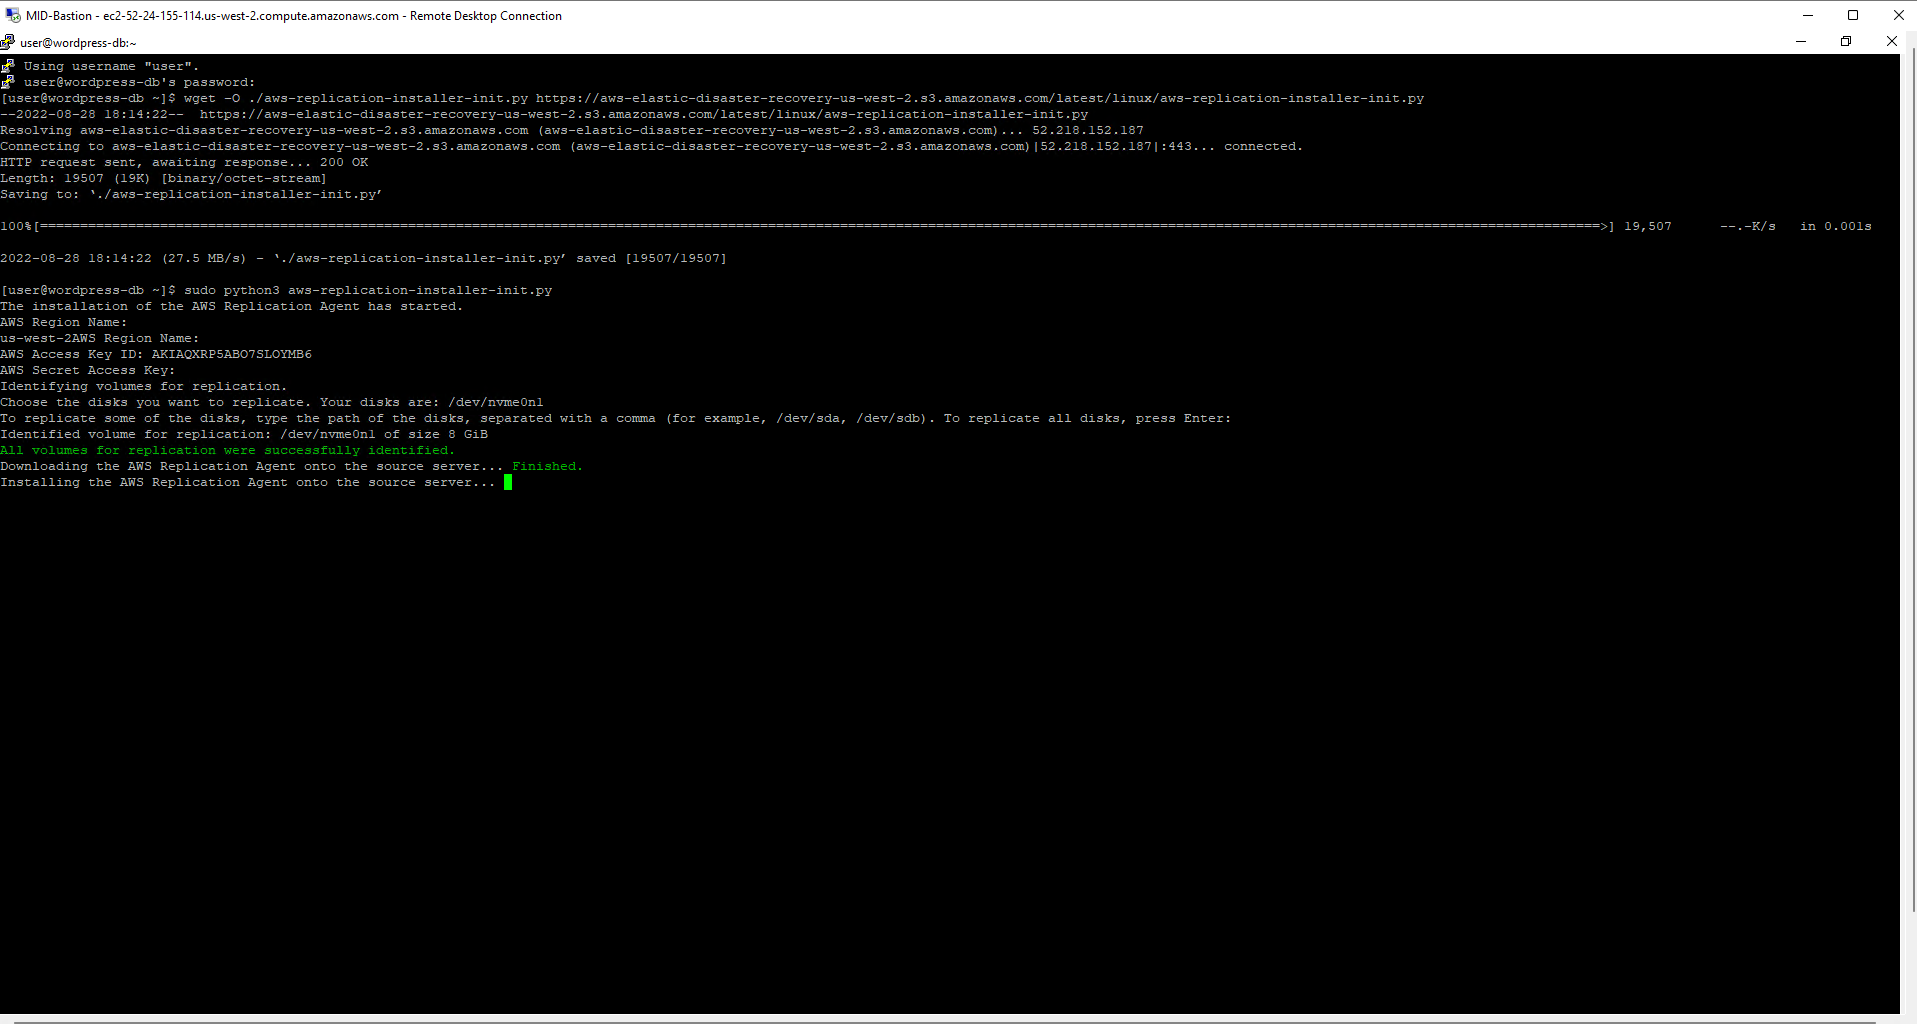
wget -O ./aws-replication-installer-init.py https://aws-elastic-disaster-recovery-us-west-2.s3.amazonaws.com/latest/linux/aws-replication-installer-init. py
- Then, we will execute the command
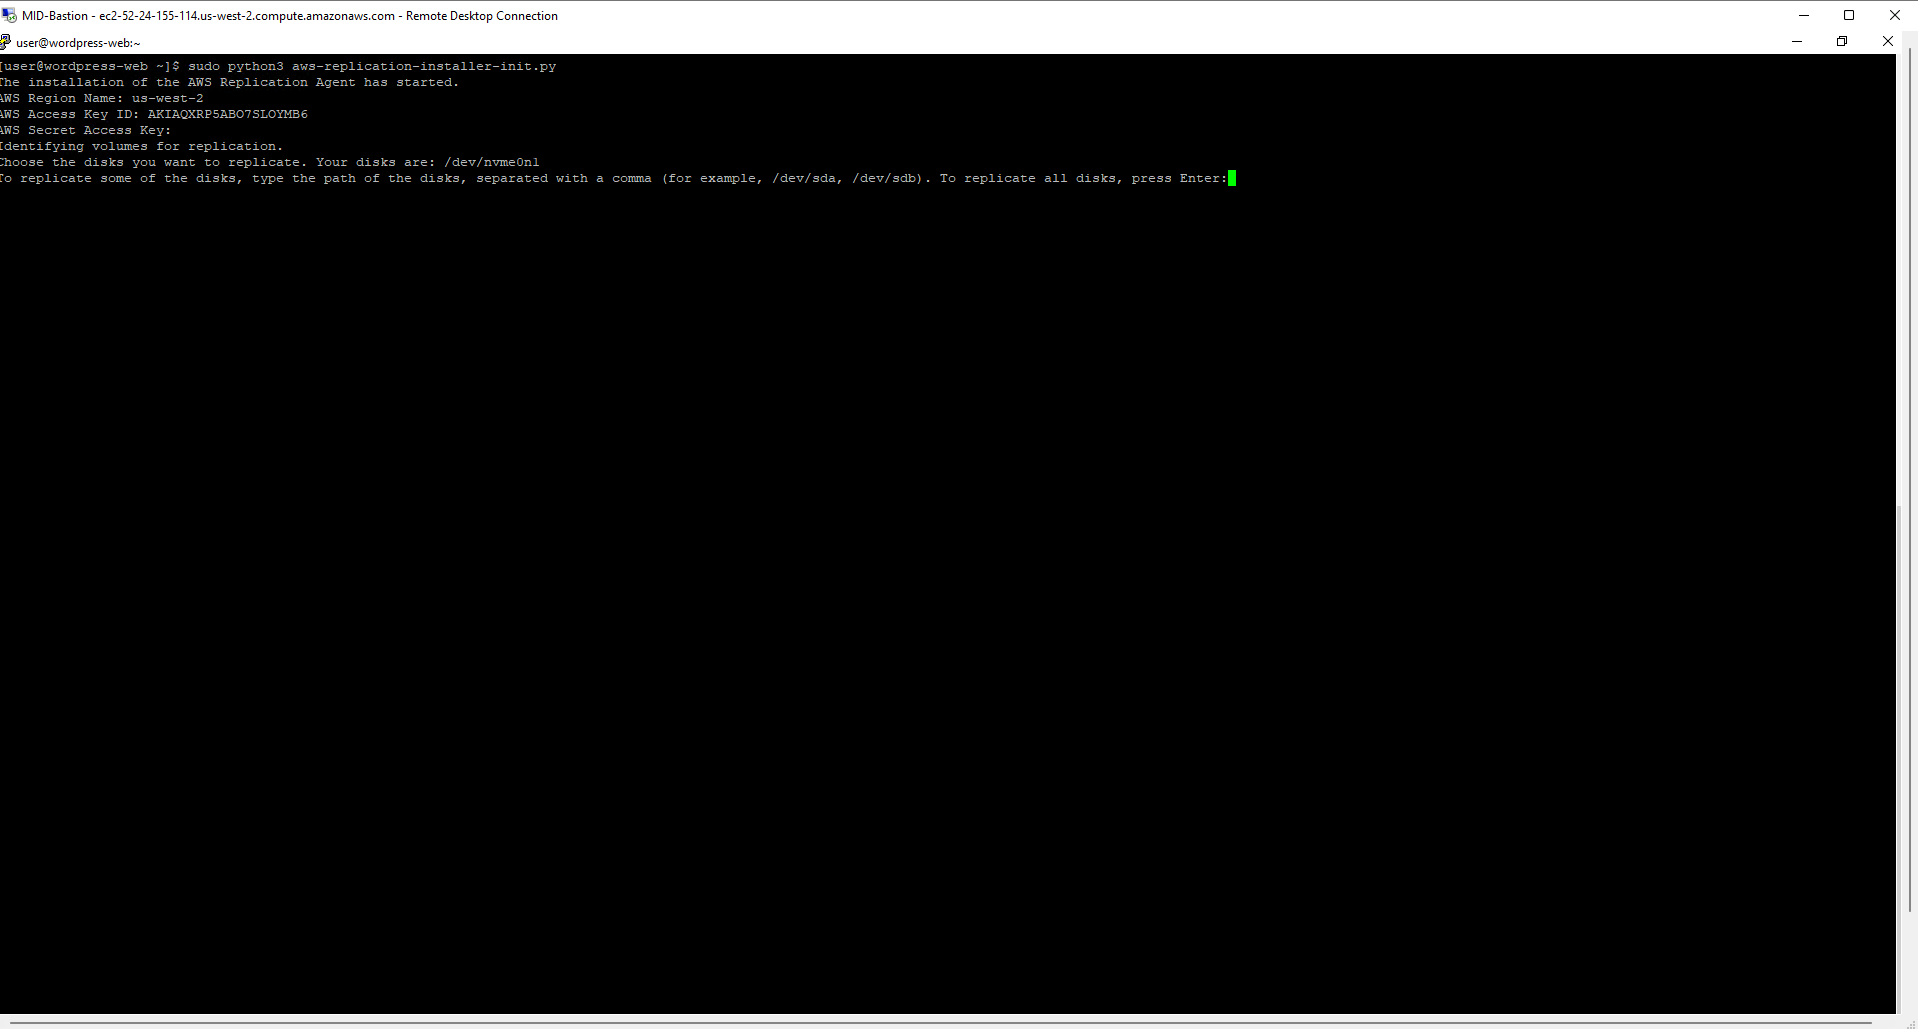
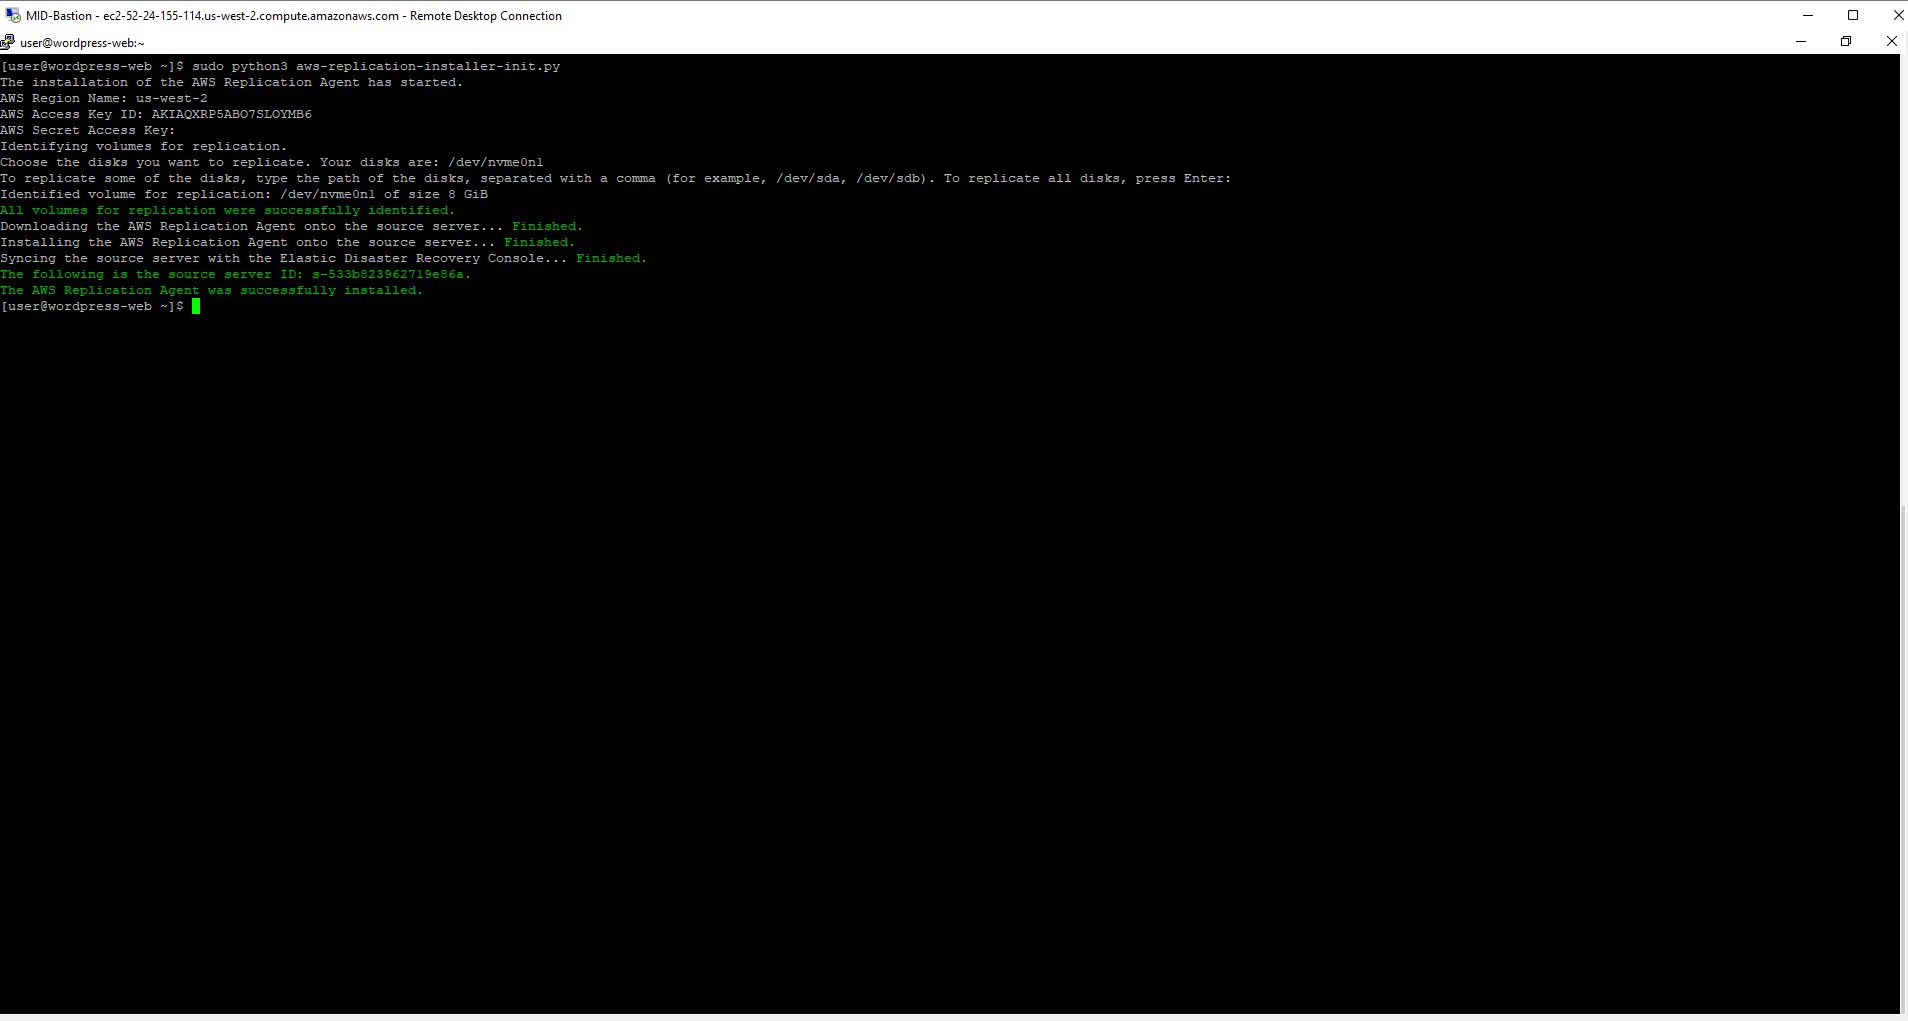
sudo python3 aws-replication-installer-init.py
-
Make configuration
- AWS Region Name
- AWS Access Key ID
- AWS Secret Access Key
- For Choose the disks you want to replicate, select Enter
- We will follow the same steps for the database server part.
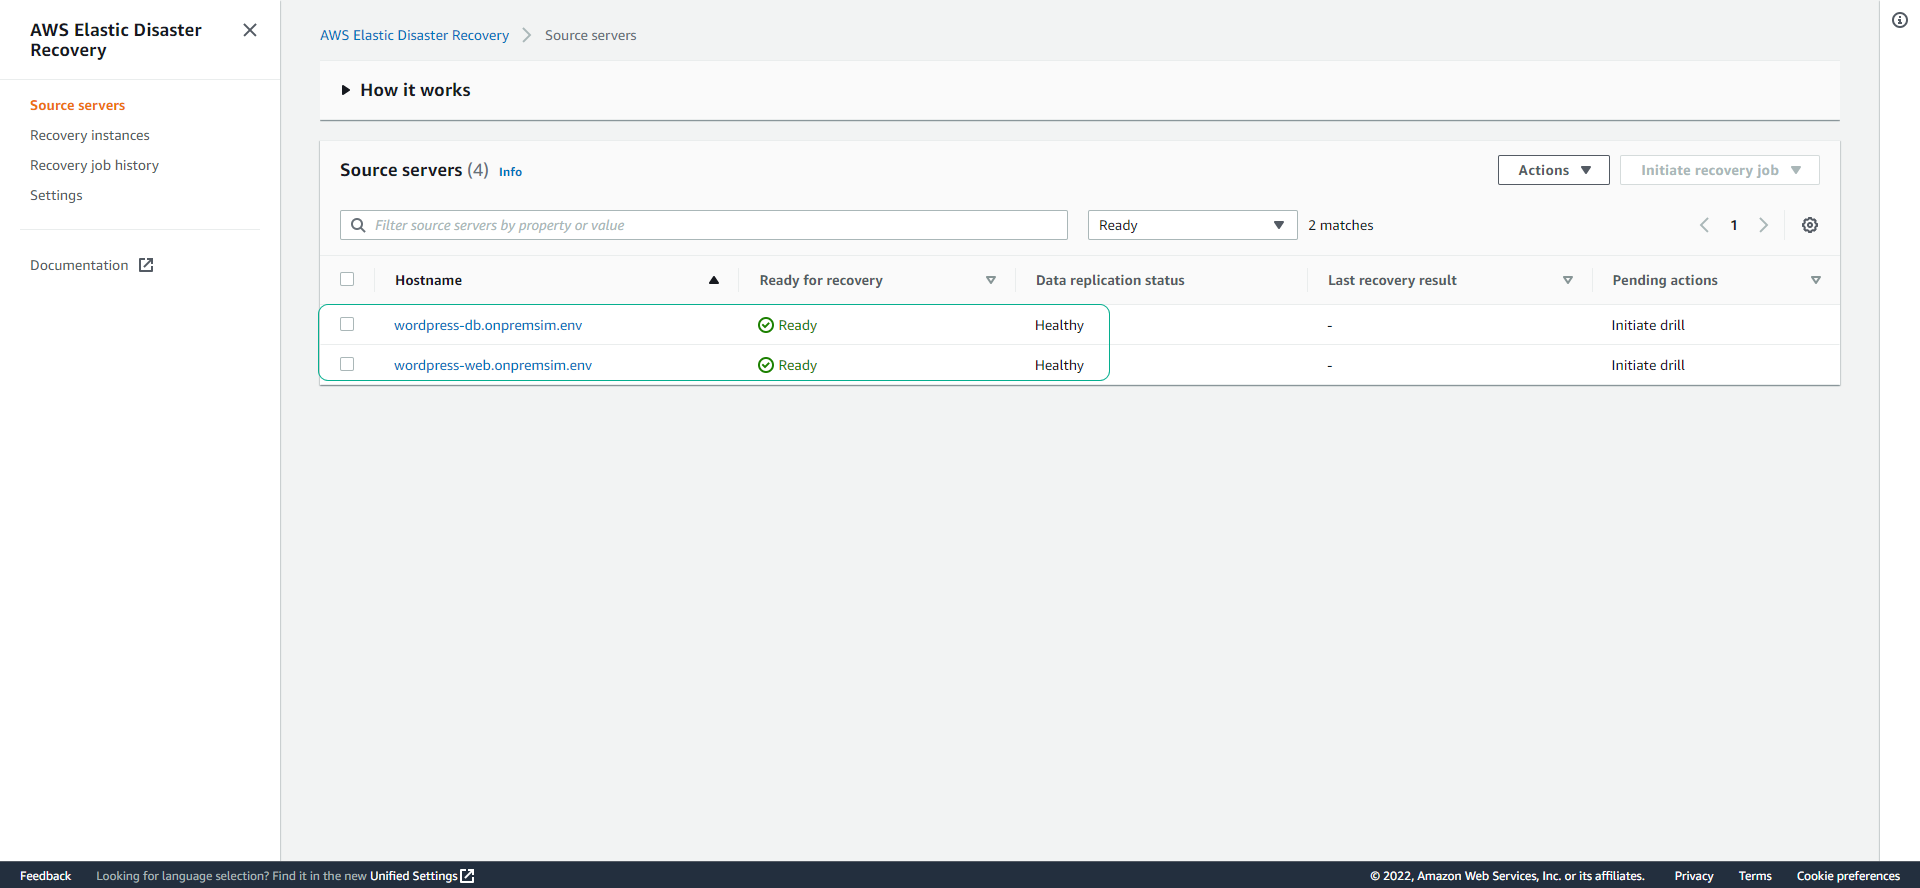
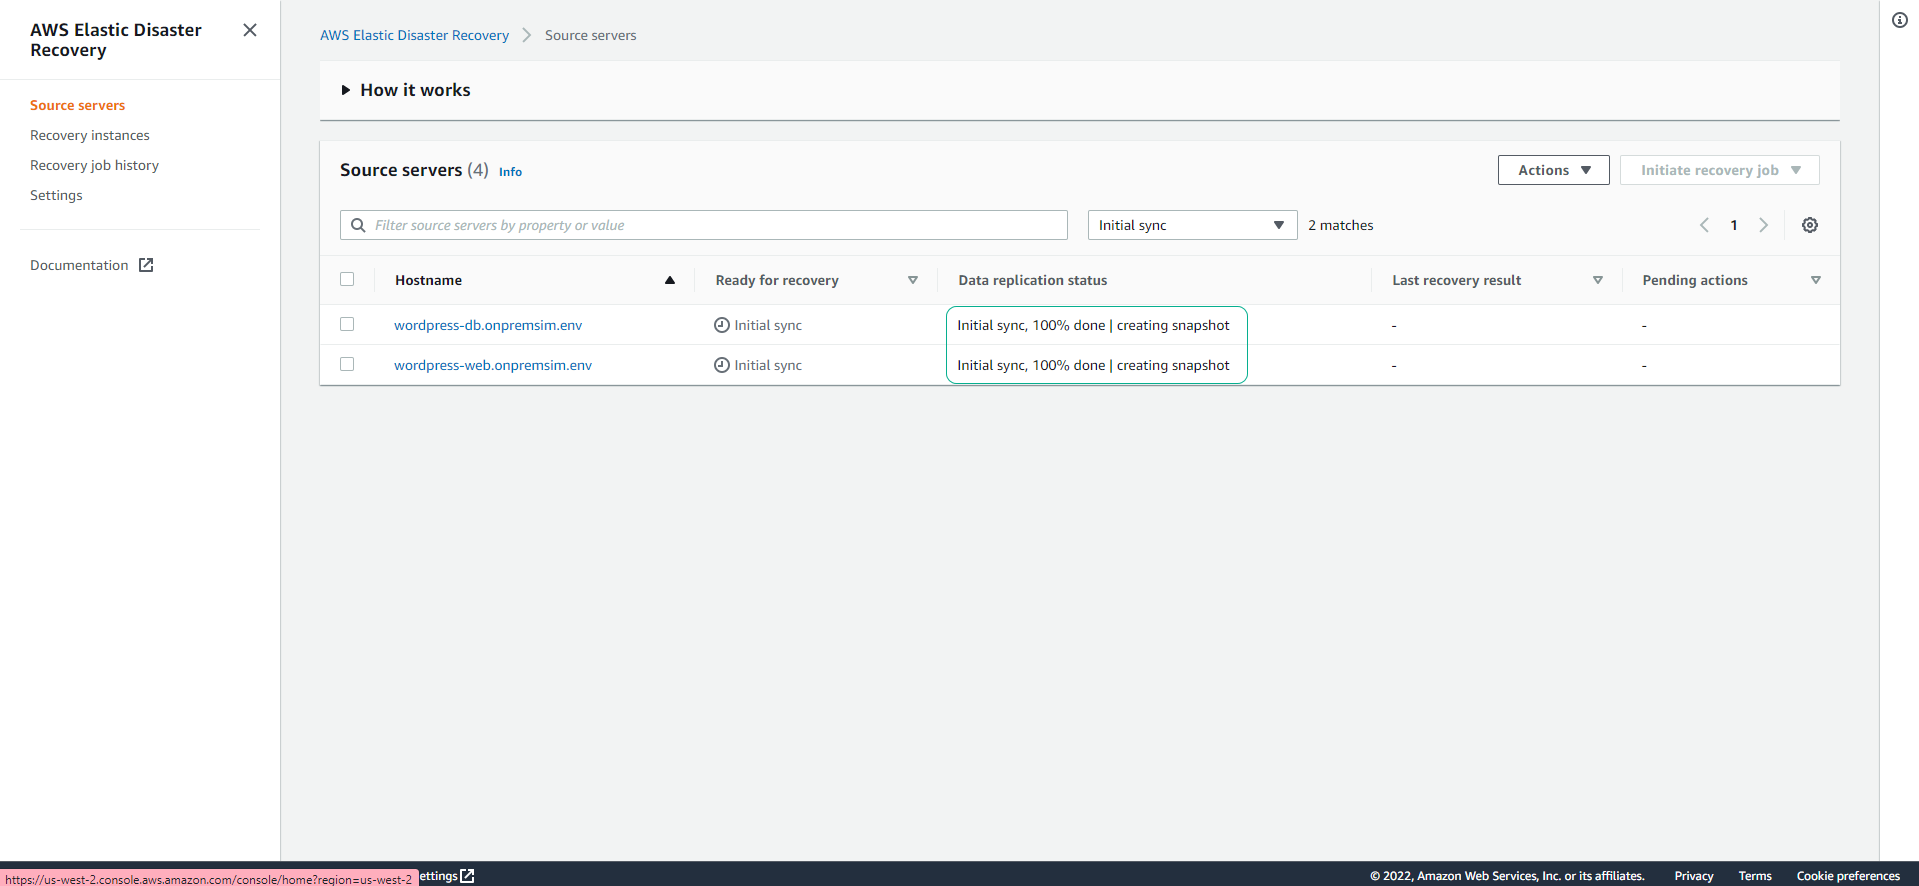
- Back to DRS source server page see initial sync process

-
Both DRS source servers
- Create security groups
- Launch replication server
- Boot replication server
- Authenticate with service
- Download replication software
- Create staging disks
- Attach staging disks
- Pair replication server with Agent
- Connect Agent with replication server
- Start data transfer
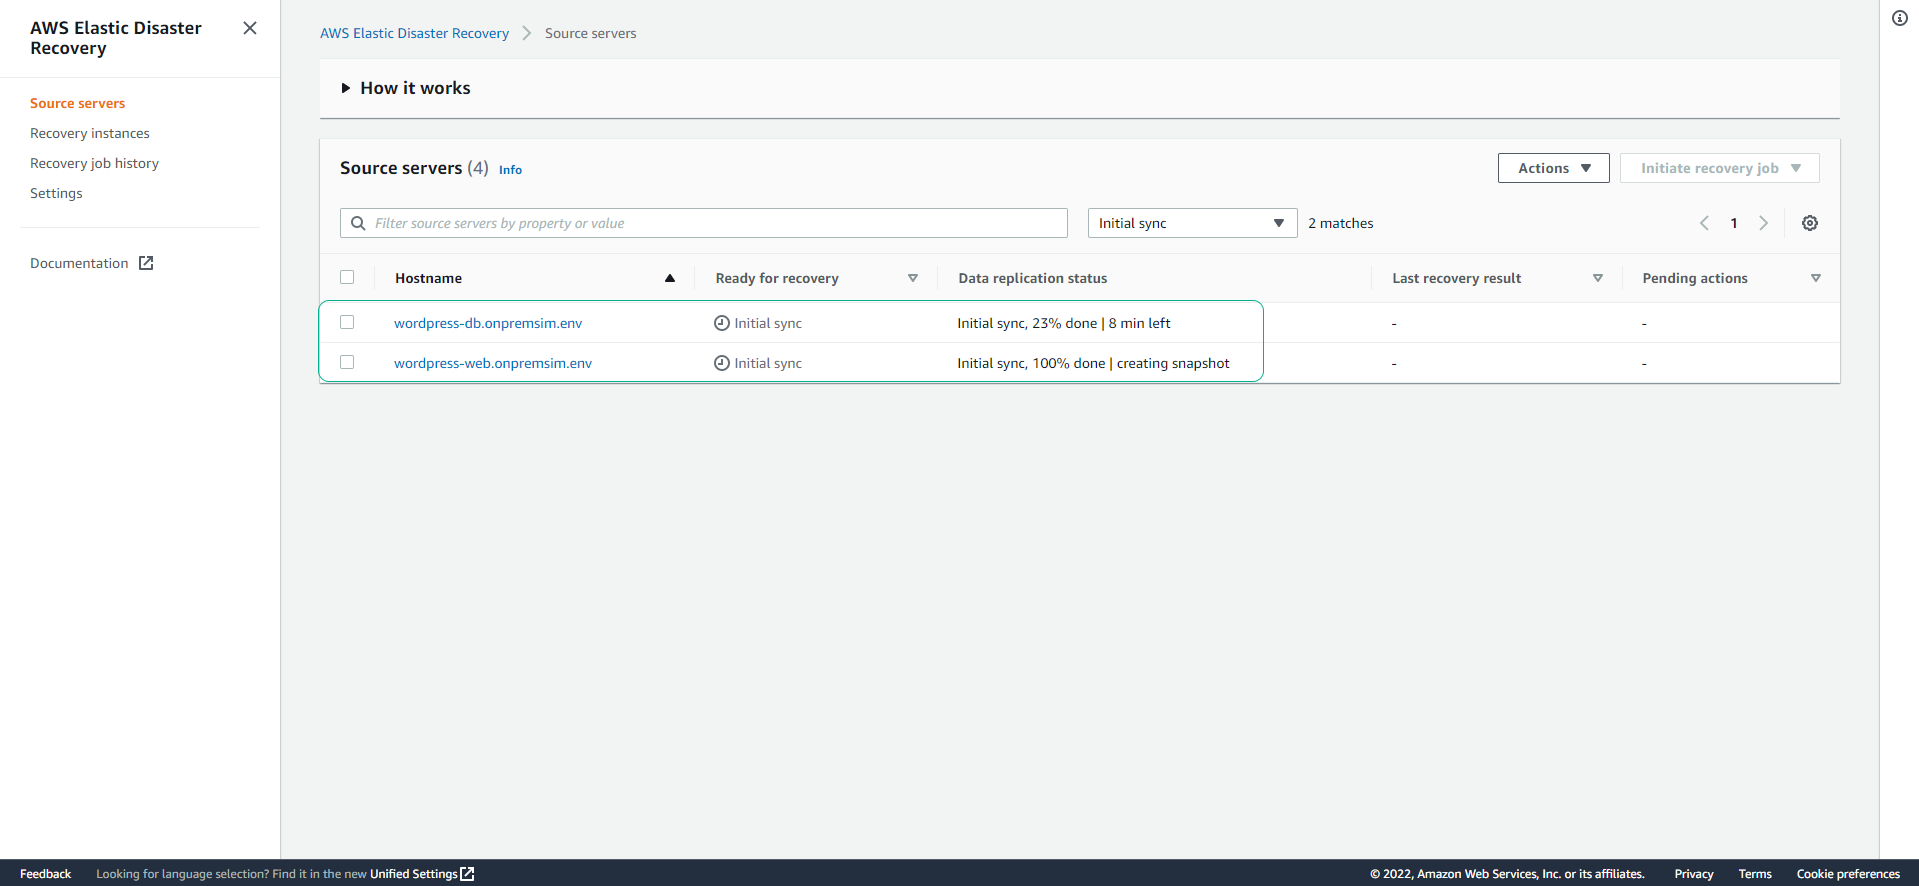
- We will select 1 DRS source server to see the details.
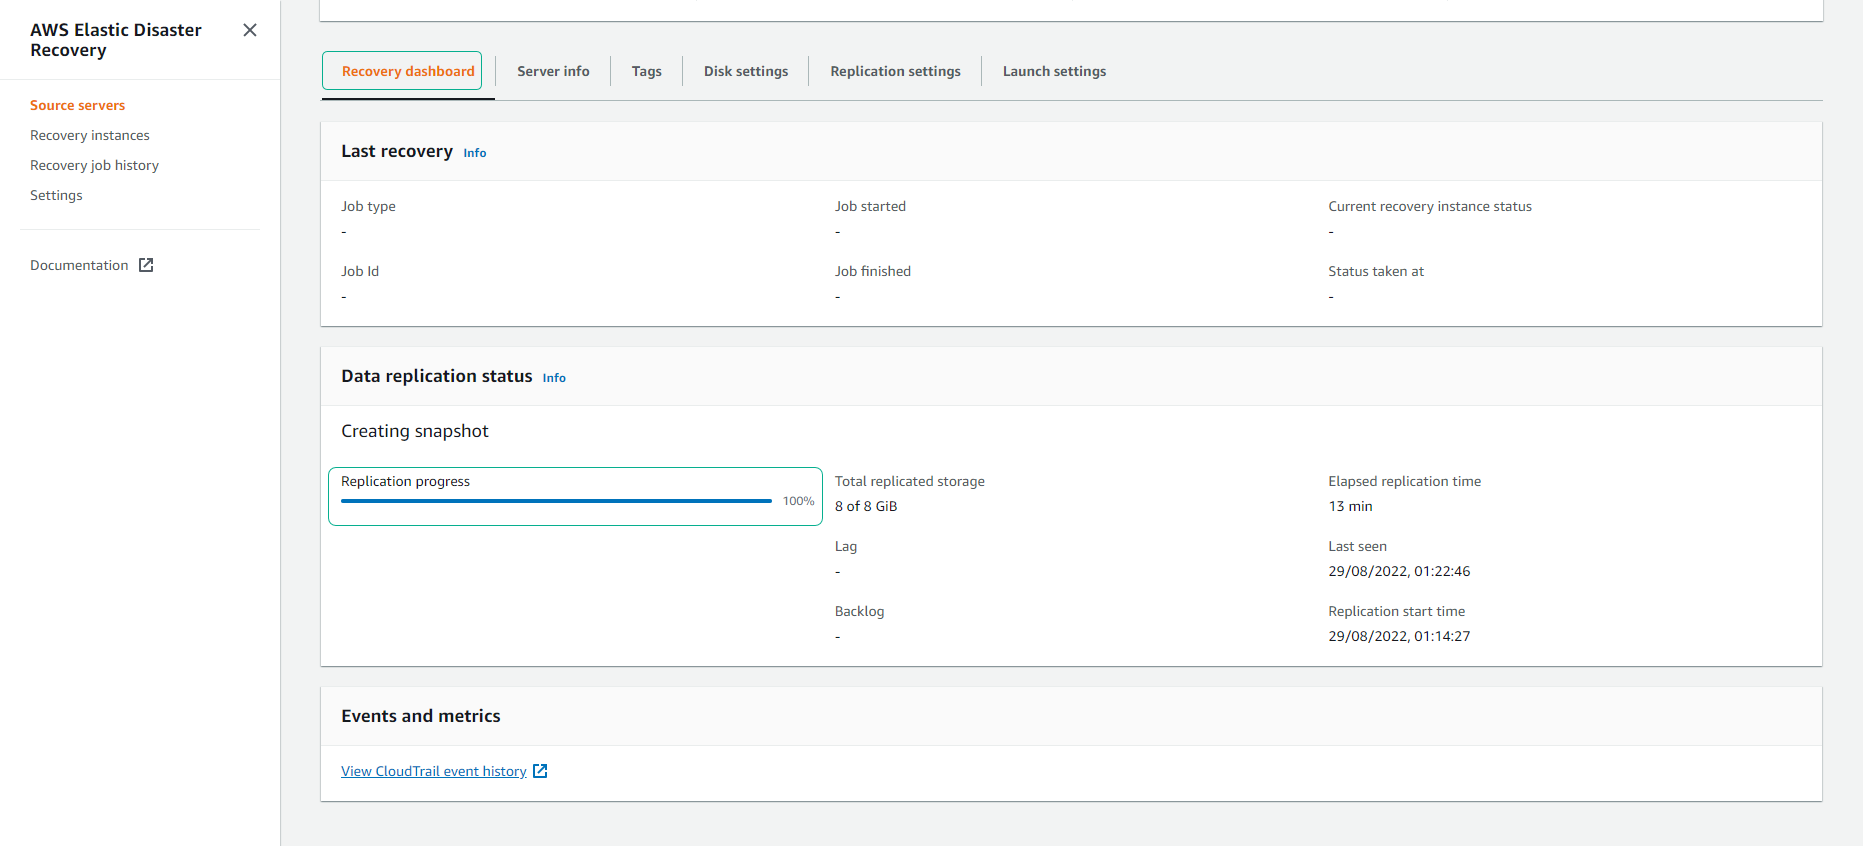
- You will have to wait about 10 minutes when 100% done
- After about 1 minute, you will see Ready for recovery status as Ready and Data replication status as Healthy